Have you ever wondered how professional sewist achieve that neat, almost-invisible blind hem? In this tutorial, we’ll share how to make a professional-looking blind hem on your sewing machine.
Don’t have a sewing machine? Learn how to sew a blind hem stitch by hand.
What is a blind hem stitch?
A blind hem is a very useful technique for any sewist, particularly those who make a lot of garments. This ingenious technique creates a hem that, like the name suggests, is almost invisible from the outside.
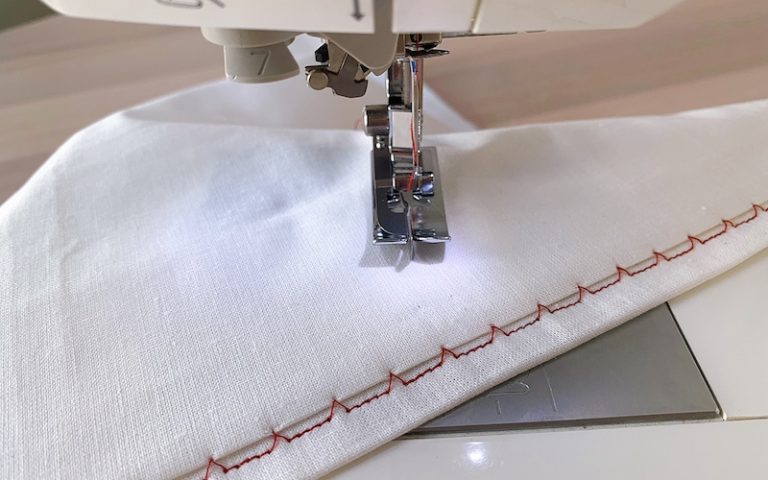
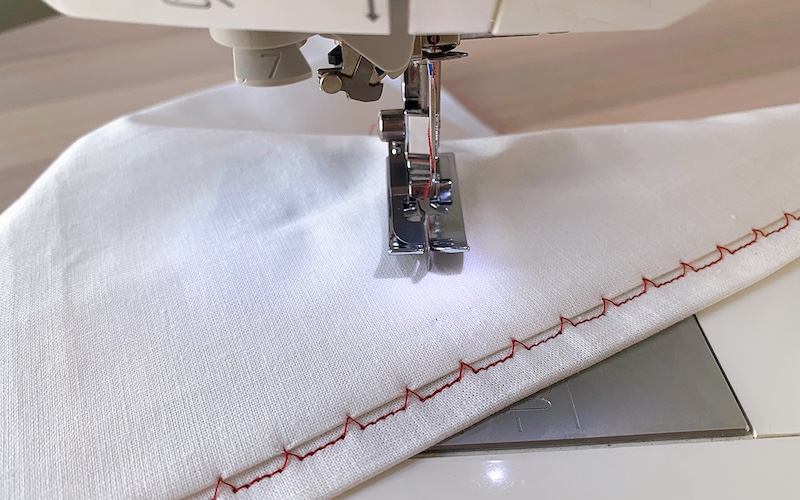
A blind hem is made using a very particular method of folding and stitching the hem. A blind hem stitch uses a combination of straight stitches to secure the raw edge and prevent fraying, with zigzag stitches at certain intervals.
These zigzag stitches just barely catch the fabric at the front of the garment, meaning that only the tiniest of stitches are displayed on the right side of the fabric.
When using a thread color that matches your fabric, you will barely be able to see these stitches.
This produces a professional-looking result that is almost identical to what you would see on a commercial garment. This deep hem is perfect for many items of clothing, such as a skirt, pants, or an unlined jacket.
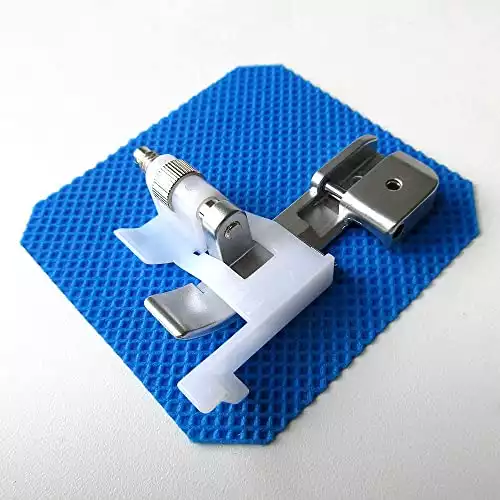
Blind hems used to be fiddly and frustrating to make, but developments in modern sewing machines have delivered the very handy blind hem presser foot. Thanks to this invention, sewing a blind hem on a machine is now quick and painless.
What tools do you need to sew a blind hem stitch on a machine?
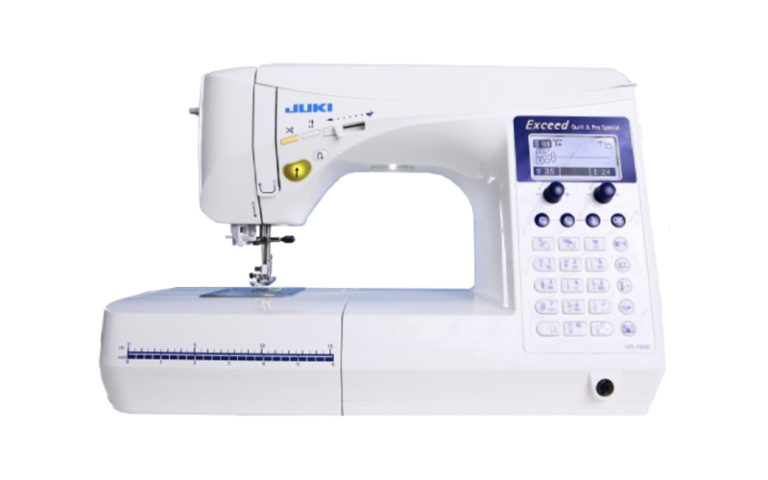
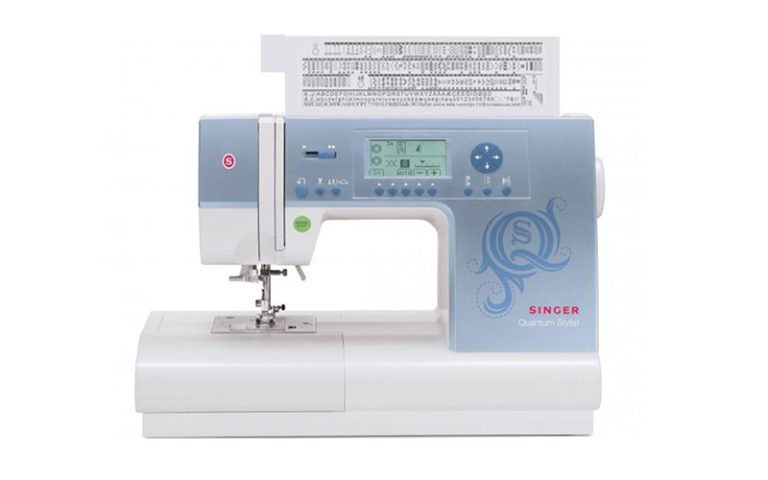
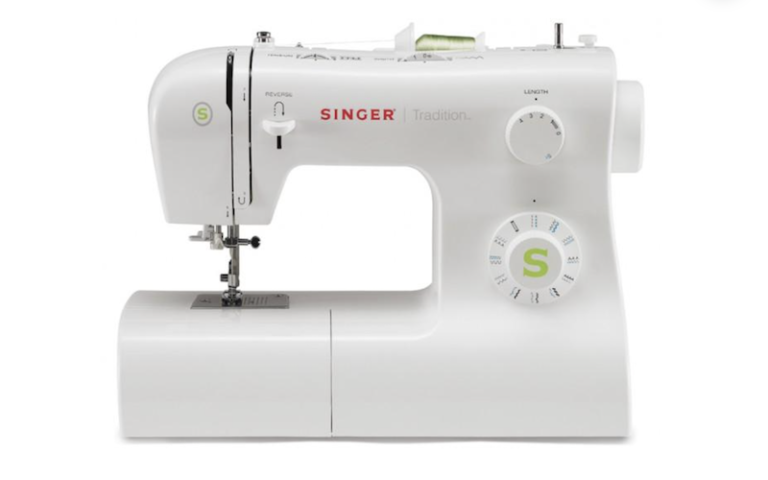
To sew a blind hem on a sewing machine you do not need any special equipment, other than a machine equipped with a blind hem stitch and a blind hem presser foot.
Of course, you’ll need a few other sewing accessories, but these are all things most sewists will have in their work space.
Specifically, you’ll need to have handy:
- A garment that needs hemming, such as pants or a skirt (or scrap fabric to practice)
- An iron
- Fabric pen or tailor’s chalk
- Ruler
- Pins
- Blind hem presser foot
For more complicated projects, having a dress form would be a plus. But since it can be quite expensive to buy, check out how you can DIY a dress form at home.
How to sew a blind hem stitch
Here is our step-by-step tutorial to making a blind hem on a sewing machine. If you have never attempted this before, we recommend trying it on some scrap fabric first.
Once you’ve got the hang of it, you’ll be ready to try this technique out on the next garment you make!
Step 1: Set up your machine
Firstly, you’ll need to check that your machine has a blind hem stitch. Otherwise, you won’t be able to sew a blind hem on your machine, although you can do a similar process by hand.
Look on your machine’s stitch selector for the blind hem stitch. This looks like a straight line with two arrowheads or zigzags on the left hand side. Some machines call it a blindstitch.
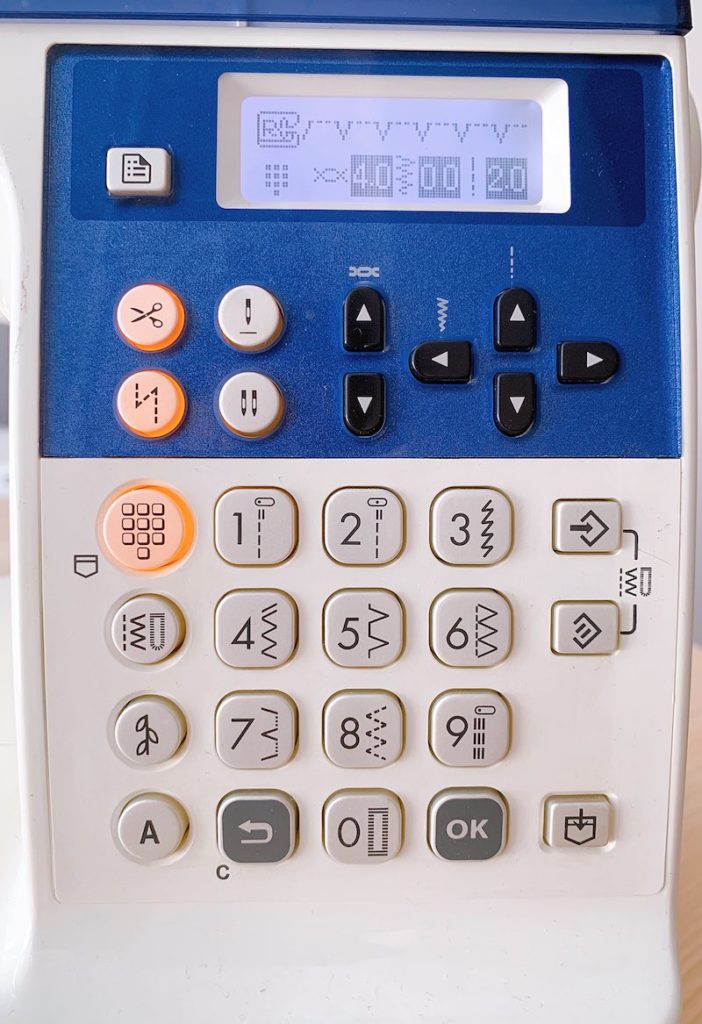
Select this stitch using your machine’s stitch selector dial or LCD touch screen, depending on the model.
If you’re unsure, check your machine’s manual which will include a list of all the stitches and how to select them.
This stitch is a feature of many modern computerized and mechanical sewing machines. Some great models for beginners that have a blind hem stitch are the Singer 7258 and the Brother CS6000i.
Step 2: Attach your blind hem presser foot
You will also need a blind hem presser foot to sew a blind hem on your sewing machine.
Many modern machines come with a blind hem presser foot. If not, you may be able to purchase the presser foot separately.
Before you start sewing, attach the blind hem presser foot. Again, this will depend on the machine, but most modern models have snap-on presser feet.
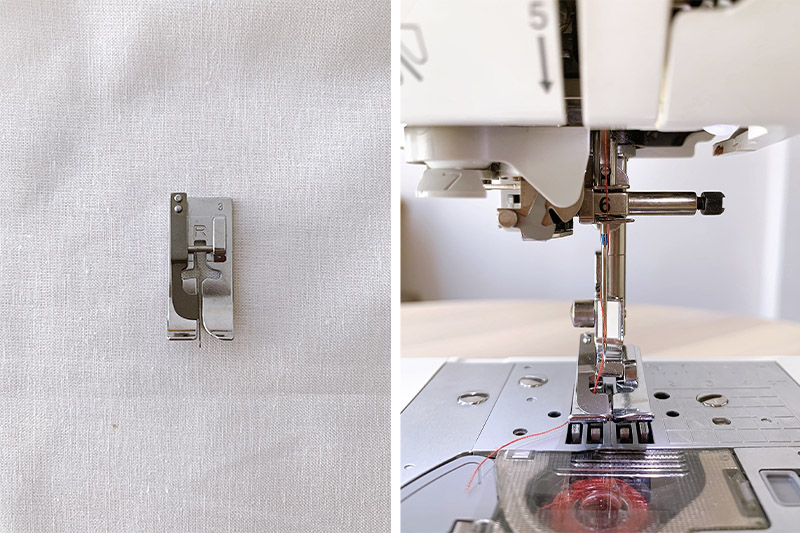
In this case, remove your machine’s standard presser foot by gently snapping it off. Then position the blind hem foot underneath the presser foot column, and lower the presser foot lever until it snaps into place.
For some, particularly older machines, you may need to unscrew the regular presser foot and screw on the blind hem foot using the small screwdriver that came with your machine.
Step 3: Mark up your hem
Before you can start sewing, you need to mark up your hem. Measure your hemline and mark this with a fabric pen or tailor’s chalk on the right side of your fabric.
Make sure you use a ruler to achieve a straight line and keep measuring to make sure your hem is an even width all the way around.
Then mark two lines, one on either side of your hemline, according to your seam allowance. This will depend on how deep you want your hem to be, but each line should be the same distance above and below your hemline.
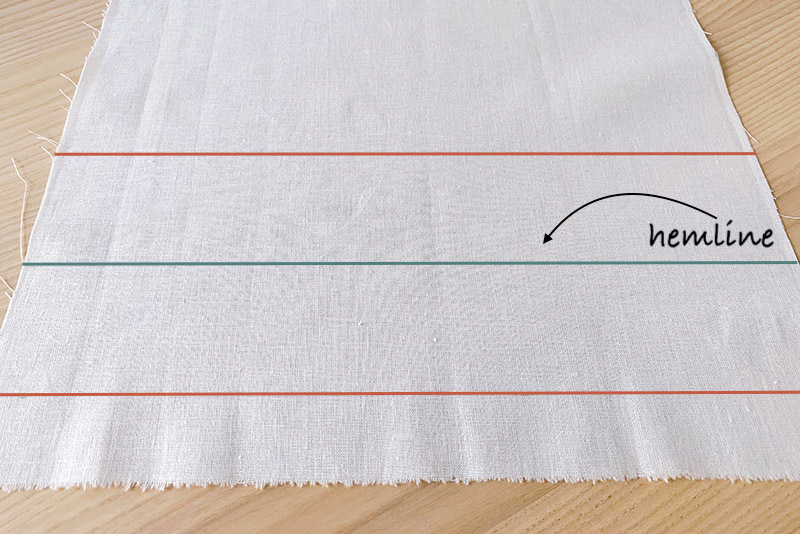
For example, if you want a two-inch hem, draw a line two inches above your hemline and another line two inches below it.
You’ll want to allow a generous seam allowance: a two and a half to three-inch allowance to create a one and a half to two-inch seam is ideal.
The edge of the fabric should be another one inch below the bottom line. Trim your fabric to this length if necessary.
Step 4: Press and fold the edges
Turn the raw edge under, so the fold is about half an inch from the bottom line you marked. Press around the edge, so that it’s neat.
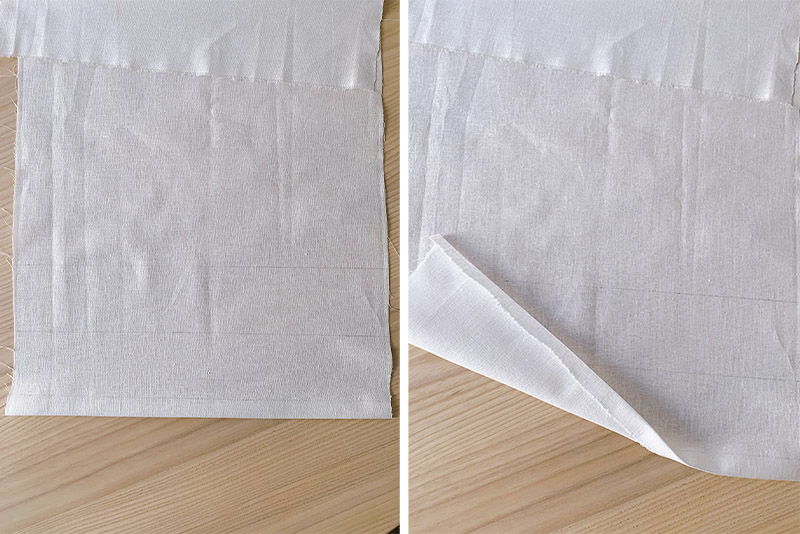
Next, pinch along the middle line (your hemline) and fold the remaining fabric under. As you fold along the hemline, make sure that your bottom line on the underside of the fabric matches up with the top line on the right side of the fabric.
Pin the fold in place with sewing pins at around eight-inch intervals, with the pin heads pointing toward the hemline or the bottom of the garment.
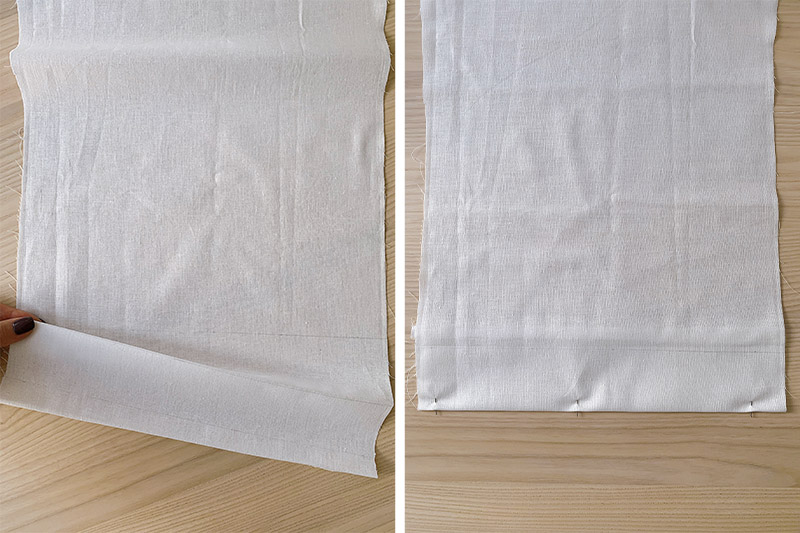
The middle line, your hemline, will now be sitting at the bottom of the hem.
Step 5: Fold the hem in the opposite direction
Next, flip your hem up, folding along the top line. Your bottom line will now be visible again, running around half an inch from the bottom hem.
Pin the hem in place again, removing the previous pins.
Taking your iron once again, lightly press the folds down.
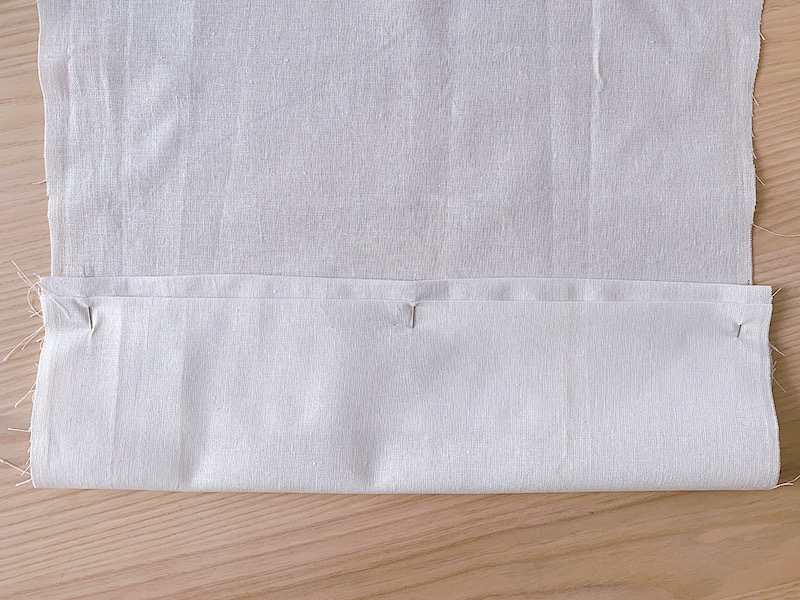
Depending on your preference, once pressed, you can remove the pins or leave them in place to make sure your folds stay secure.
If you are working with really slippery fabric, you can even secure your folds with a basting stitch in step 4, before folding your hem up and sewing the blind hem stitch. You will simply need to remove the basting stitch once you’ve finished sewing.
Step 6: Sew your hem
Make sure that you have attached your blind hem presser foot and set your machine to the blind hem stitch. The stitch width will depend on the garment and fabric you are using, but in most cases a width of 3.5 cm will work well.
Position your fabric with the wrong side of the hem up, with the vertical plate sitting directly along the fold. This means that as you sew, you will stitch right along the edge of the fold.
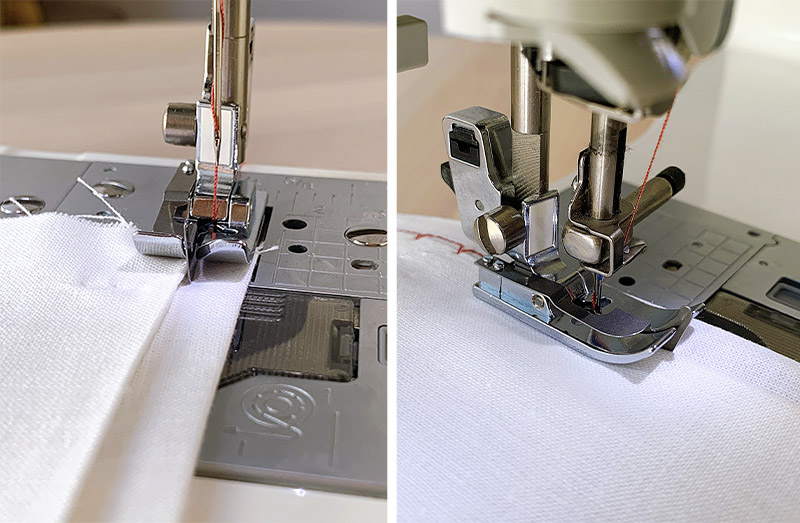
Sew slowly and carefully, keeping the fold pressed against the plate as you go. Also make sure that the fabric sits flat and does not roll in towards the needle.
Once you’ve sewed all the way around the hem, tie off your threads.
Check your hem to make sure that each stitch has caught the fold. The stitch should just barely go through the fold, but enough to attach the two layers together.
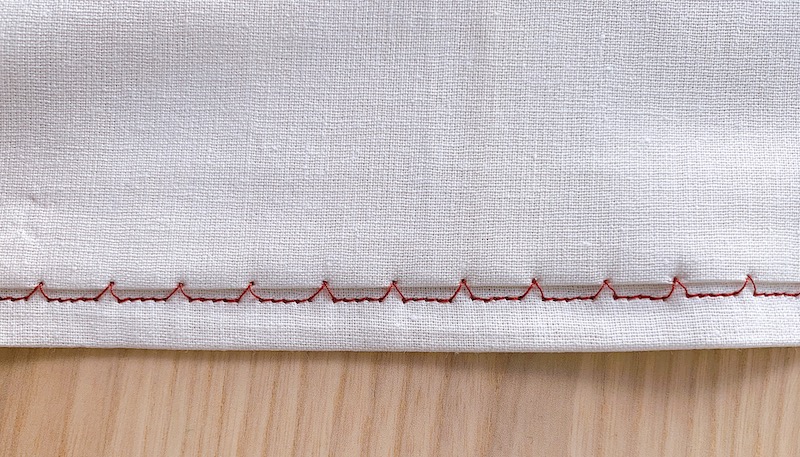
If your machine has missed the fold in any of the stitches, you’ll need to go back sew over that section again.
Having a good quality machine with a decent blind hem foot, and working slowly and carefully, will help to ensure that you don’t miss any stitches.
If you have any issues with your blind hem stitch and the stitches are not catching properly, check your tension. In some cases, it’s a good idea to loosen the tension slightly for the blind hem stitch.
This will depend on the fabric, so make sure to do some test stitches on your fabric before sewing your final garment.
Step 7: Let down the hem
Once you’ve sewn completely around the edge of the hem and have checked to make sure all the stitches are where they should be, remove any pins and let the hem down.
You’ll now have a neat, pretty much invisible hem.
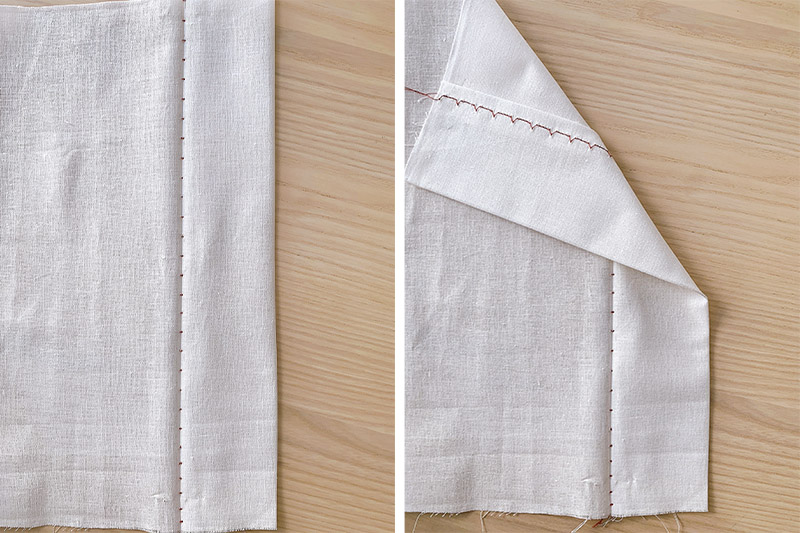
Press the hem in its final place. You may have a crease where you previously pressed the hem: spray some water as you press to remove this.
Sometimes this previous pressing line may still be visible, but it should come out with the first wash so don’t worry about this!
Final thoughts
A blind hem stitch may seem intimidating at first, but this is actually relatively easy to know. As long as you know how to mark and fold your fabric you’re well on your way to sewing a perfect blind hem.
From there, all you need to do is sew your hem using a blind hem presser foot on a machine that has a blind hem stitch, making sure to sew slowly and carefully. You’ll then have a professional-looking, almost invisible hem to perfect your latest project!
If you know other sewists who would also love to know how to make a blind hem on a sewing machine, go ahead and share this article!

