
It’s important to know how to properly sew on a patch, whether for practical reasons (such as for a uniform) or simply to add some decoration to your garments and accessories.
Follow the steps in this tutorial, and you’ll produce a flawless patch that will look neat and stay firm even with the roughest treatment.
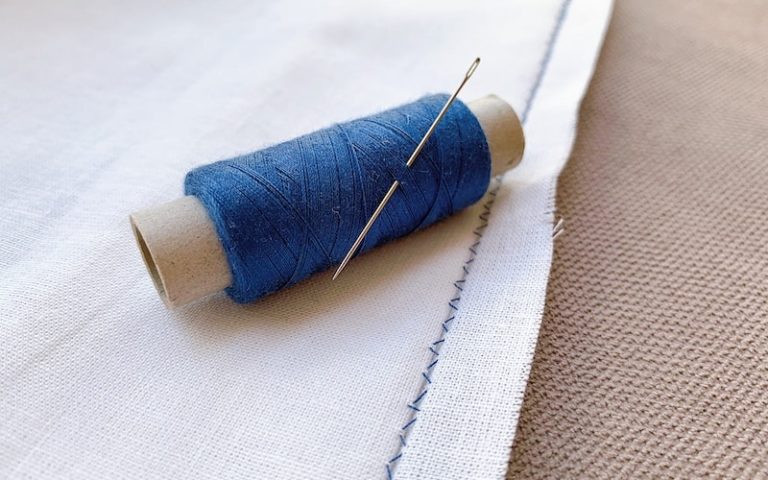
What you’ll need to sew on a patch by hand
Sewing your patch on by hand helps you ensure it is securely attached, including uneven edges and odd shapes. Hand sewing is also the only option when placing a patch in hard-to-reach places such as a shirt pocket.
Sewing on a patch by hand is also a relatively simple process, and can be done with only a few basic supplies.
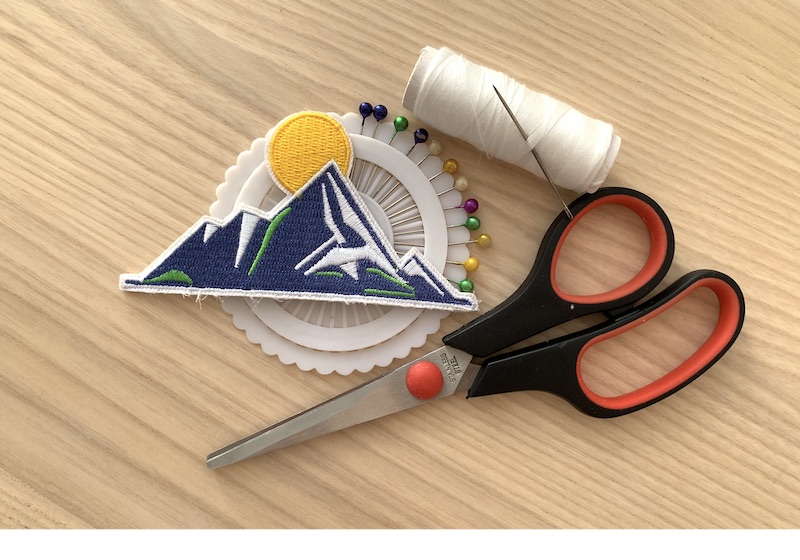
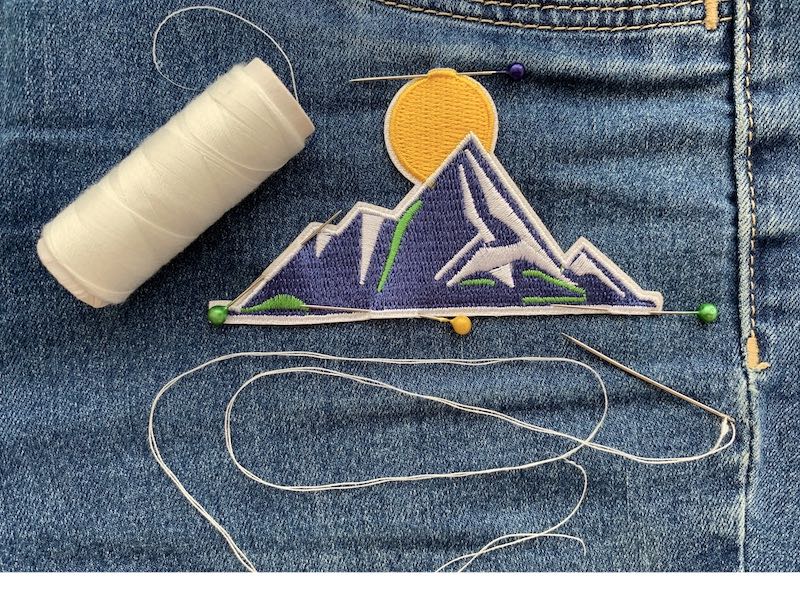
Here are the materials you’ll need to sew on a patch by hand:
- One or more patches
- Thread
- A sturdy, medium sized needle
- Sewing pins
- Thimble (recommended)
- Scissors
Sewing on a patch with a sewing machine
You can also use a sewing machine to sew on a patch, as long as you can easily access the spot where you wish to sew the patch. Generally, it is preferable to sew on a patch by hand in order to properly sew around interesting or odd-shaped patches.
However, a sewing machine can be preferable for simple shapes like ovals and rectangles, especially if you need to sew a large number of patches.
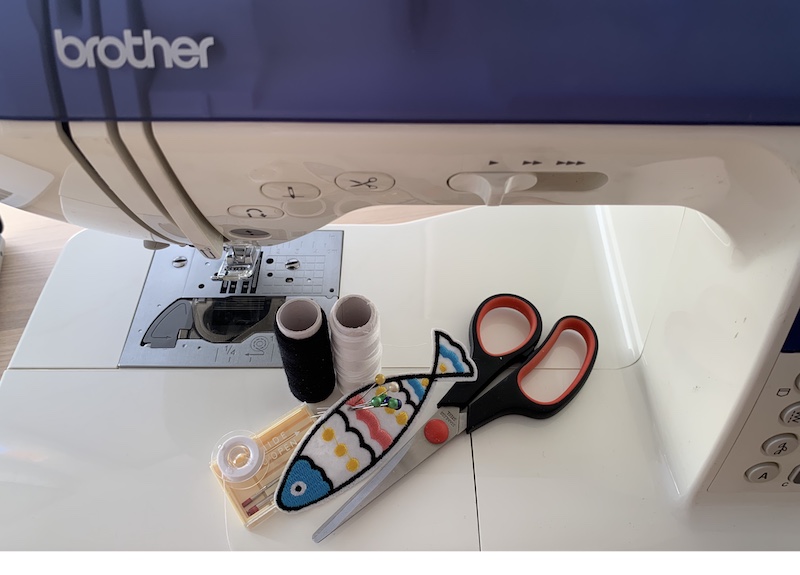
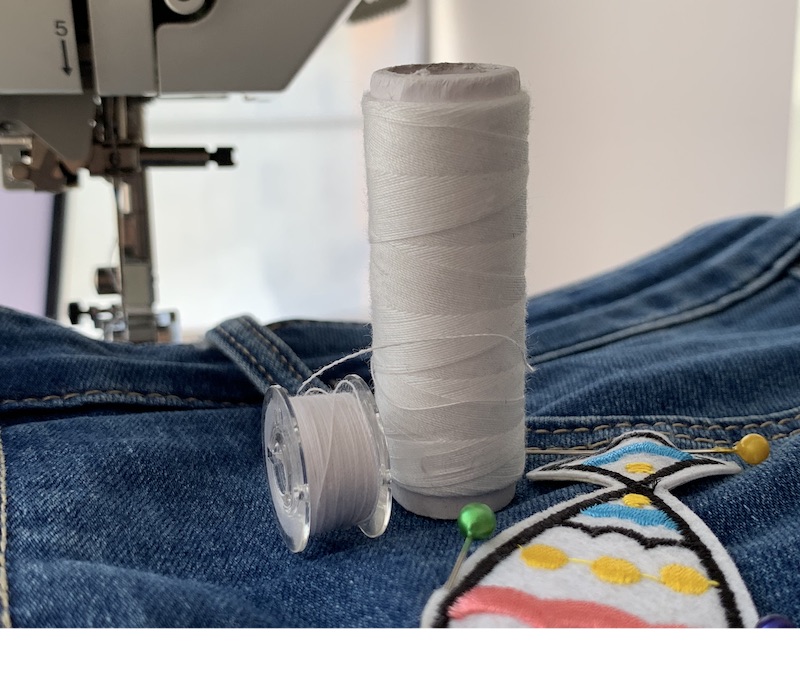
To sew on a patch with a sewing machine you’ll need:
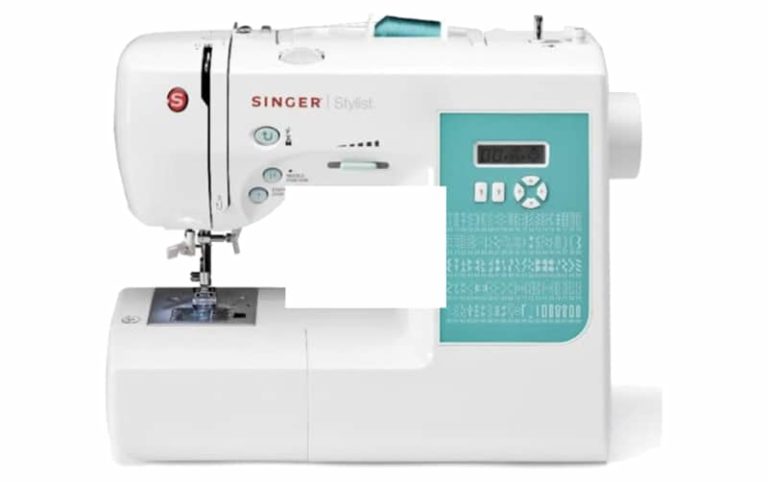
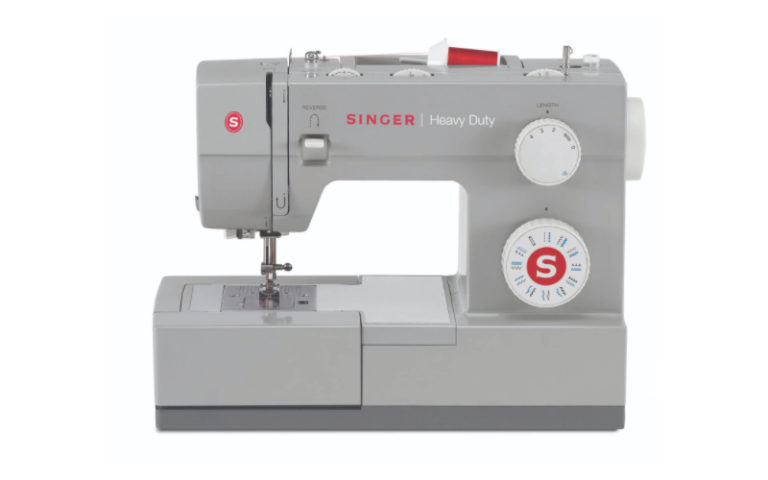
- Any computerized or mechanical sewing machine capable of a straight or zigzag stitch
- Spool and bobbin thread
- Contrasting thread for basting
- A needle
- Sewing pins
- Scissors
How to sew on a patch: step by step guide
Here is a detailed, step-by-step guide to sewing a patch onto fabric. We’ll go over the process to sew the patch by hand, and then cover how you can sew on a patch using a sewing machine.
1. Decide where to place the patch
Before you start sewing, you’ll need to decide where you will put your patch, and specifically where you will place it on that item.
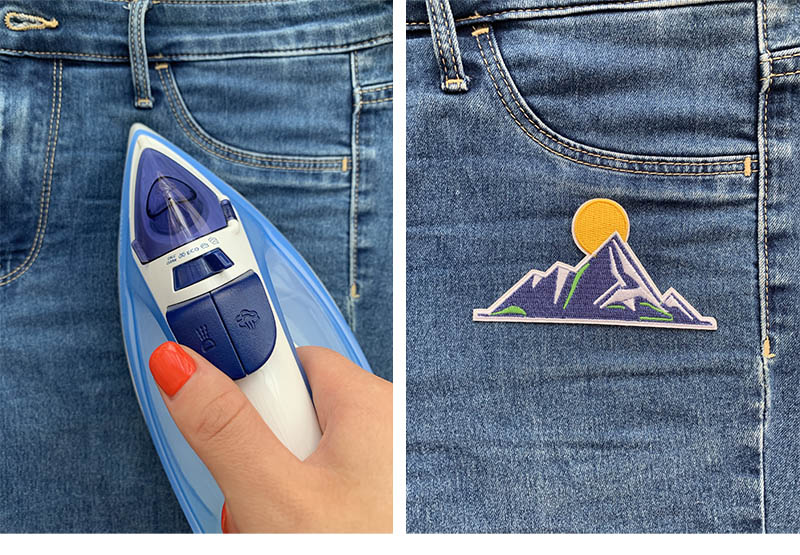
If possible, choose a garment or object with robust fabric, as this will hold the patch well without it distorting the structure of the item. Denim, canvas and other similarly heavy fabrics work best. Denim jackets, jeans, and canvas bags are all great examples of items that are suitable for patches.
If you have a new item of clothing, make sure to wash, dry and iron it before you start sewing. If you don’t, as soon as you put it through the wash for the first time the fabric will bunch up under the patch in an unsightly way. Equally, if you sew a patch onto an un-ironed surface, the fabric will be permanently crinkled.
Once you’ve chosen your garment or item, you need to decide where to place the patch. If placing a patch on a uniform (such as for the scouts or a company uniform), you will need to comply with specific placement instructions.
For a decorative patch you have a lot more freedom, and the placement can greatly affect the end result. Think about the spacing of the patch – generally, it should not be too close to seams, nor placed in a way that it will disappear around the side of your arm or leg, for example.
Also keep in mind that you are not limited to one patch when decorating your item. Arrangements or two or three or even more patches can look amazing if arranged well!
2. Secure with sewing pins
Secure the patch in your chosen spot using sewing pins. This will keep the patch stable while you are sewing it on. It will depend on the size of your patch, but two or three pins will usually be sufficient.
Some patches come with glue on the back, but in all cases it is better to pin the patch in place before sewing rather than gluing it on.

This is because pinning the patch down gives you more flexibility and allows you to make adjustments. If you glue the patch you are either stuck with having it in that position forever or risk exposing unsightly glue marks on the fabric.
You may also be tempted to simply glue or iron-on the patch rather than sewing it at all. However, sewing a patch is much more likely to keep it secure through machine washes and general wear and tear.
3. Thread your needle
Choose a thread that is the same color as the patch. If the patch has a border that is one color and a background of a different color, you can match your thread to either hue.
You will need a sturdy thread to cope with the robust fabric and thick patch. We recommend an extra-strong polyester thread.
Thread the needle and tie off the two threads together so you have a double thread. This will be stronger in order to keep your patch secure.
It’s also a good idea to keep the thread to no longer than 18 inches to avoid tangles.
4. Start sewing your patch.
Starting at the back of your garment so that the knot will be hidden at the back, use a running stitch to sew along the outside of the patch to secure it.
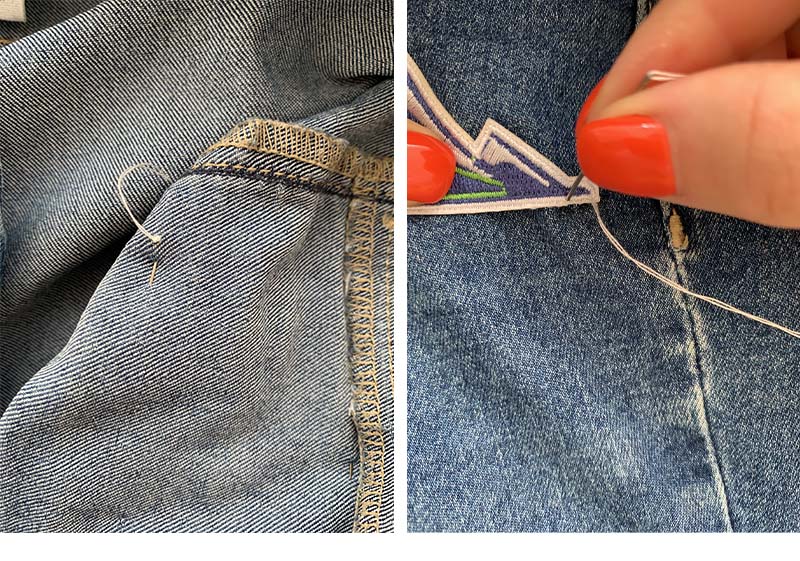
Sew along the border of the patch: most commercially-made patches have a border or bound edge that is around a quarter inch wide. You should aim to sew just inside this border to keep your stitches hidden while being as close to the edge of the patch as possible.
Try to keep the lengths of the stitches even and uniform.
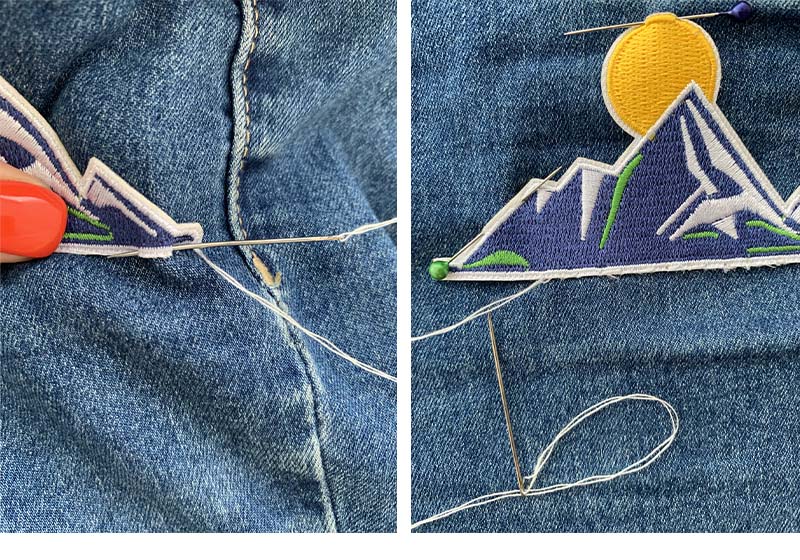
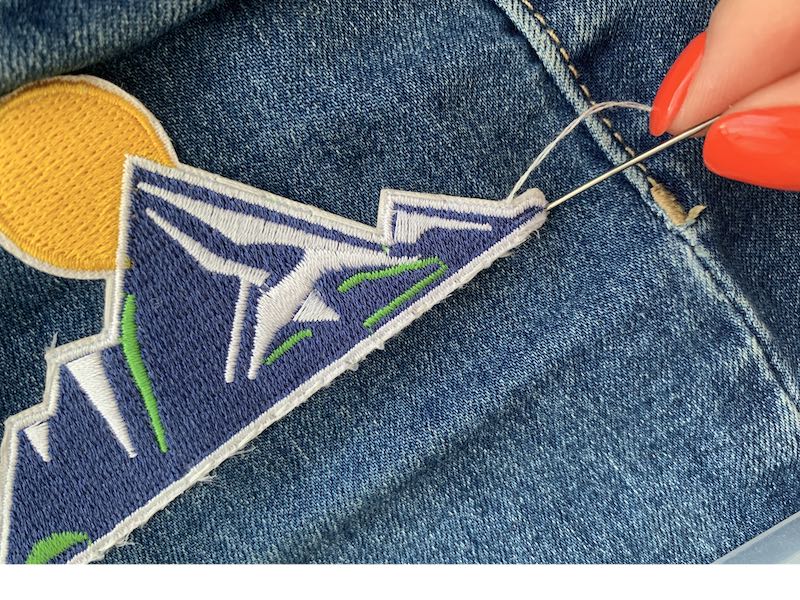
5. Sew around all the edges of the patch
Continue to sew around the border of the patch, removing the pins as you sew. Make sure to sew completely around the edge of the patch, including any details or protruding shapes.
You will probably be sewing through a heavy-duty fabric and patches tend to be thick as well, and so you will need to use a reasonable amount of force. For this reason, it’s a good idea to use a thimble to protect your fingers and avoid blisters!
If working with a very robust fabric and a thick patch you can still use a running stitch but you’ll need to pull the needle through the back of the fabric and then pull it through to the front in a separate motion.
6. Tie off the thread
Once you’ve sewn all the way around the edge of your patch, do a few extra stitches in the same place on the backside of the fabric. This will secure your thread and reinforce your stitches.
To end your stitch properly, tie off your thread to hold the stitches in place and stop them from unraveling.
Finally, cut the thread about half an inch from the knot to keep the back of the garment or item neat and tidy. Leaving half an inch or so will ensure that you don’t accidentally cut off the knot!
How to sew on a patch using a sewing machine
If you are sewing a patch with a simple oval or rectangular shape, and placing it on an area that you can reach with a sewing machine, you may find it easier to sew the patch on using your machine.
This can be a huge time-saver if you are sewing bulk patches such as on to uniforms or for small businesses.
1. Place your patch
Pin your patch onto your garment or item, just as you would do when sewing on a patch by hand. Before you can sew a patch on the machine, however, you should baste it in place and remove the pins, as sewing pins can get in the way of the sewing machine needle or presser foot.

Check this article for more on how to use a basting stitch.
2. Thread your machine
Choose a thread that matches the bound edges of the patch, and use this for both the bobbin thread and the spool thread.
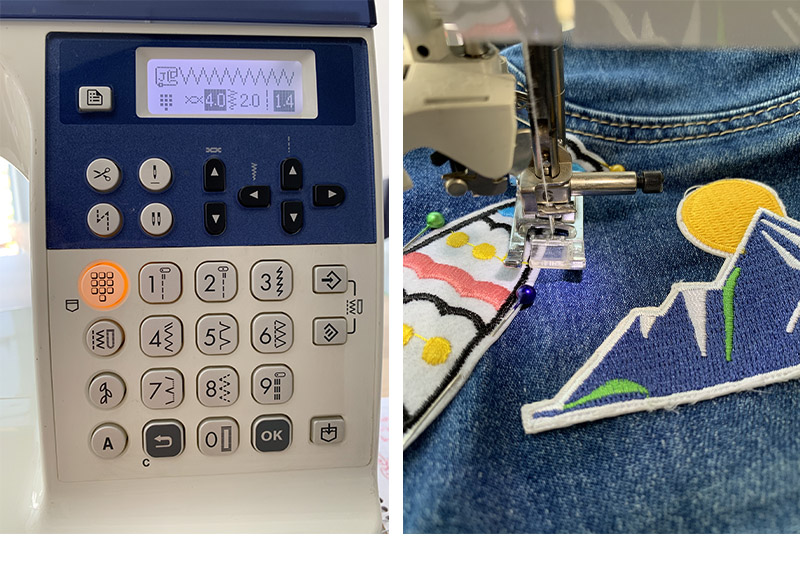
3. Sew your patch
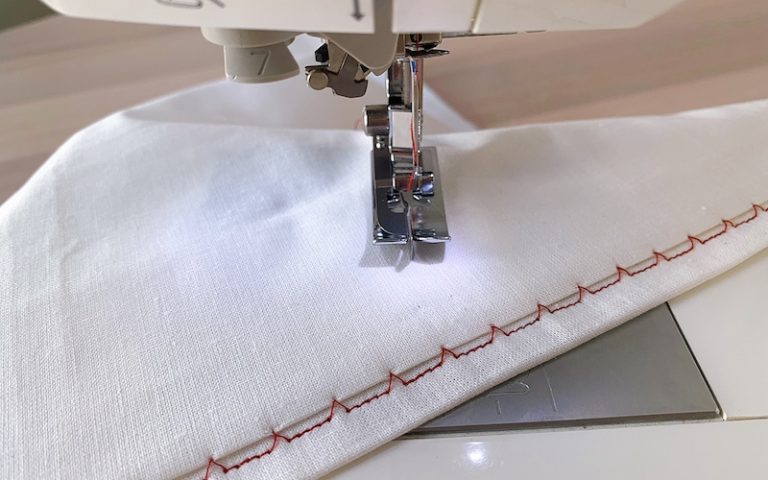
Use a zigzag stitch and set the stitch width so that it is just wider than the bound edges or border of the patch. The stitch length should be medium, around 2cm to 3cm.
Carefully sew around the patch ensuring that the needle lands just outside the border of the patch on both sides.
As an alternative, you can use a straight stitch just inside the border, similar to the technique used to sew on the patch by hand. This is more subtle than the zigzag stitch when done correctly, but it is also more difficult to master.
If using a straight stitch the thread can either match the border of the patch, or the background color of the patch.
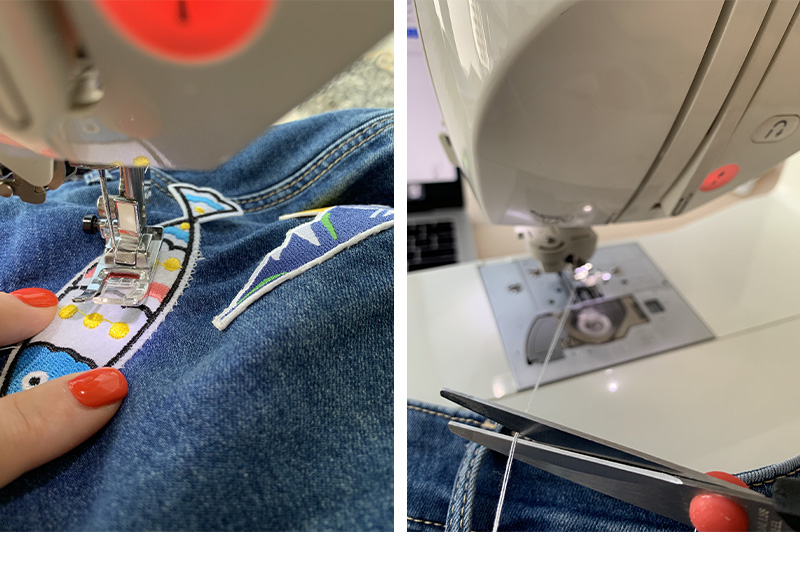
4. Tie off your threads
Once you have completely sewn around the edge of the patch, lift up the presser foot and pull out the fabric, leaving thread tails that are at least three inches long. Cut off your thread tails using scissors or your machine’s thread cutter, if it has one.
Take the thread tail on the back of your garment or item and gently pull this up until a thread loop appears. Use a needle or pin to pull the loop until the thread comes all the way through.
You can then knot the two threads next to the fabric, then trim the thread around half and an inch from the knot exactly as you would do when sewing on a patch by hand.
Wrapping it up
Whether sewing on a patch by hand or using a sewing machine, properly sewing on your patch will make sure it is neat, tidy, and well-secured. This means it’ll last months or even years of machine washes and daily wear, without the edges peeling up or the patch coming up completely.
Follow this guide and you’ll have a beautifully-sewn patch on your uniform, or to decorate your favorite denim jacket or pair of jeans.
If you found this article helpful, share it with your networks or on social media!