Basting, also known as tacking, is a temporary straight stitch used to hold two or more pieces of fabric, trimmings, or other elements in place so that they can be permanently sewn together. The basting stitch is then removed for a clean, polished result.
If you’re just starting out in sewing, or if you’ve been sewing for a while without using this technique, basting stitches will make your life a whole lot easier. These handy stitches make sewing certain projects simpler and less challenging while giving a neater, more polished result.
What is a basting stitch?
A basting stitch is a long, easily removable stitch that is used to temporarily join two or more pieces of fabric together. This kind of stitch is also known as tacking or running stitch and is very helpful in a variety of circumstances to produce a better final product.
Why use a basting stitch?
Basting stitches are used to hold fabric or other elements in place precisely while you sew. This is important when sewing multiple layers of fabric, or when working with slippery fabrics like satins that could move while sewing.
Basting stitches are also handy when sewing trimmings, such as on décor items like cushions, or in quilting for example. In both cases, basting allows you to secure the various layers and then neatly sew them in on your machine.
In the same way, basting stitches can be used to place a zipper or secure a patch before sewing. This is much easier, not to mention more accurate than using pins.
Finally, basting stitches can be very handy when sewing on a serger. On this kind of machine there is little room for error, so basting first means you can check everything is perfect before it’s too late! Basting also avoids using pins, which can be fatal to your serger.
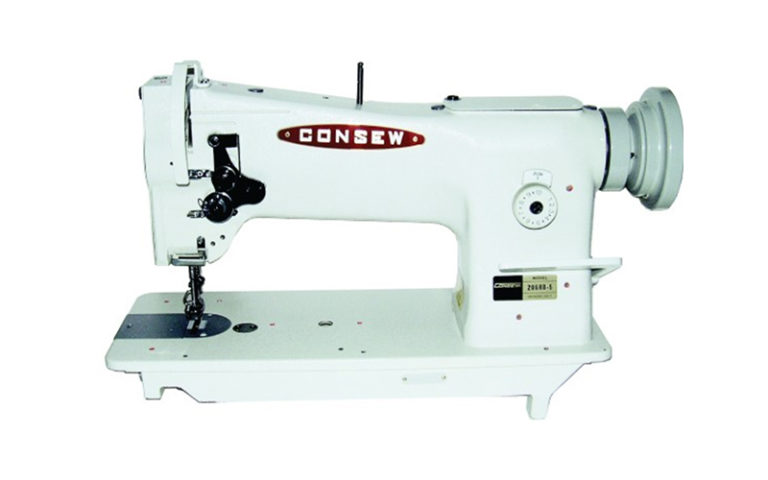
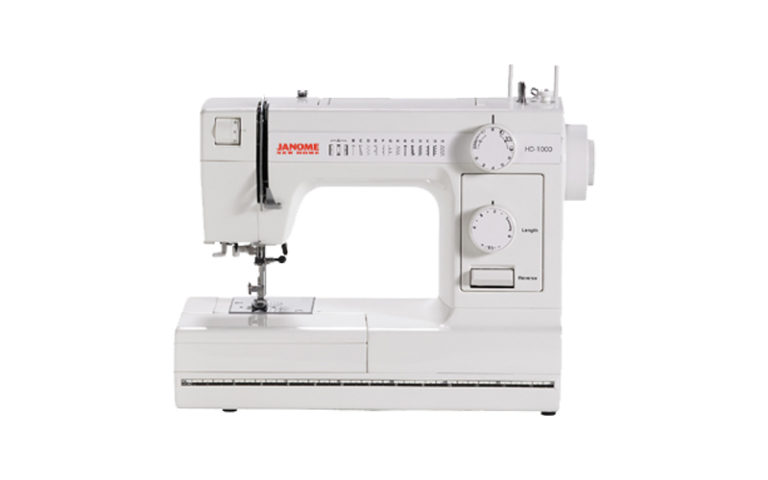
How to make a basting stitch on a sewing machine
Generally, you won’t find a basting stitch setting on your machine. However, sewing basting stitches can be easily done on any sewing machine.
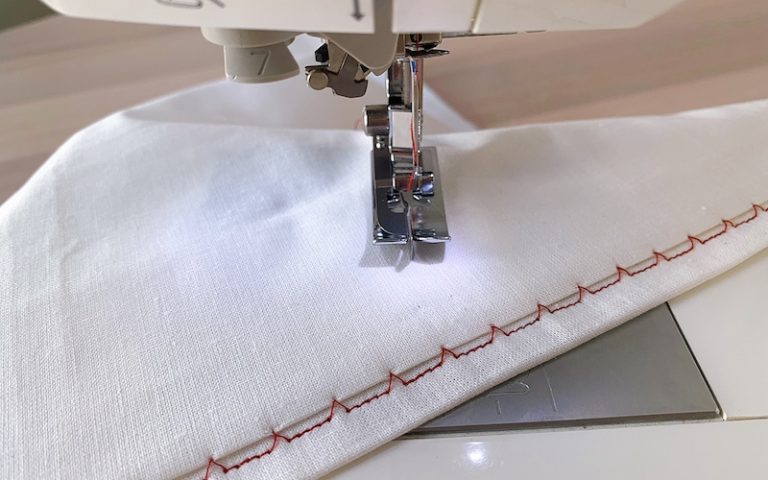
A basting stitch is essentially just a very long stitch. Simply set your stitch length to the longest allowed on your machine: this will normally be around 5.0mm, but some machines go up to 7.0 or even 9.0mmso feel free to use this length if you can.
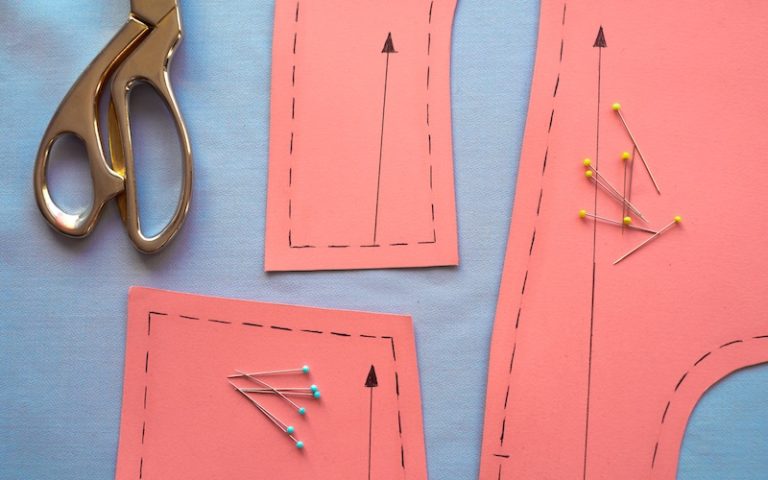
Pin your fabric as normal and use a straight stitch with the needle in the center or left position. Be sure to avoid backstitching – remember, you need to be able to easily remove these stitches later!
While it’s rare to find a basting stitch setting on your sewing machine, some machines do have an automatic or manual pre-programmed basting stitch. An automatic basting stitch is essentially just a way to save you a little time, automatically adjusting the stitch length.
A manual pre-programmed basting stitch, on the other hand, is akin to free-motion sewing or quilting. Here you are basically controlling the movement of the fabric rather than the machine and will need to use a darning foot.
In this setting, the sewing machine will lower the feed dogs, allowing you to easily move the fabric through the machine. The length of the stitches will depend on how quickly you move the fabric, and this technique is most useful for quilting
When making basting stitches on your machine, check that the thread you are using will not leave any marks on the fabric. If the thread is likely to leave a mark or stain, switch to bobbin thread in both the bobbin and the upper thread positions.
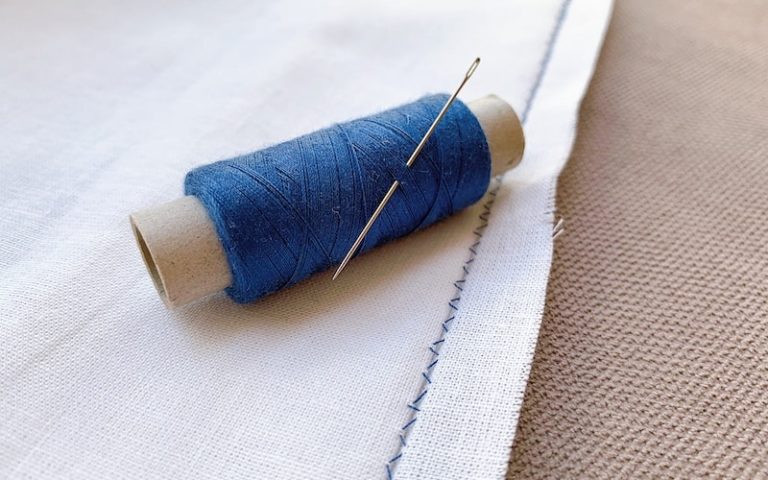
How to sew a basting stitch by hand
Basting stitches can also be sewn by hand. In fact, many sewers prefer to baste by hand.
This is usually because hand-sewn basting is even easier to remove. Doing your basting stitches by hand also gives you more control over their length, as well as allowing you to work on projects with materials that are too thick or too fiddly to go through a machine.
To sew basting stitches by hand, simply pin your fabric as normal then make long running stitches. Be sure to keep your stitches in one direction only, with no backstitching. This method of stitching is extremely quick and easy.
When sewing basting stitches by hand you can choose whatever length you like, just be sure that the stitches are easily removable. Test this by gently tugging on the thread: it should slide easily through the fabric. To finish, sew a couple of stitches in place.
How to remove a basting stitch
How easily you are able to remove your basting stitches will depend on how you sewed them in the first place. . When sewing basting stitches never sew on the final seam allowance. You don’t want your final stitches to be on top of the basting stitches as this will make them almost impossible to remove.
Instead, sew about a quarter inch inside the final seam allowance, keeping your basting stitches clear and easily removable. Use a contrasting colored thread to make removal even easier, and do not press your project before removing the basting stitches as pressed-in stitches are harder to take out.
If you have followed these guidelines, to remove the basting stitches, all you need to do is use a seam ripper to gently cut through the stitches on one end, and a few through the middle. If you’ve made your basting on a machine with a shorter stitch length, you may want to cut through around every fifth stitch.
You’ll then be able to easily pull out the thread, and be left with only your final seam.
Conclusion
Basting is a simple yet indispensable technique that can be used in a variety of circumstances. A basting stitch is very useful for holding slippery fabric, trimmings, zippers, or other tricky elements in place while sewing the final stitching.
Whether sewing by hand or on your machine, you’ll find basting stitches help you to produce better end results!