Knowing how to fix bobbin thread bunching will allow you to avoid this frustrating occurrence and create perfect, smooth seams.
Thread bunching has a number of causes and knowing each of these, and how to resolve, them will allow you to quickly overcome the issue and complete your project to perfection.
What causes bobbin thread bunching?
Bobbin thread bunching is one of the most common sewing machine problems experienced by sewists, and one of the greatest frustrations!
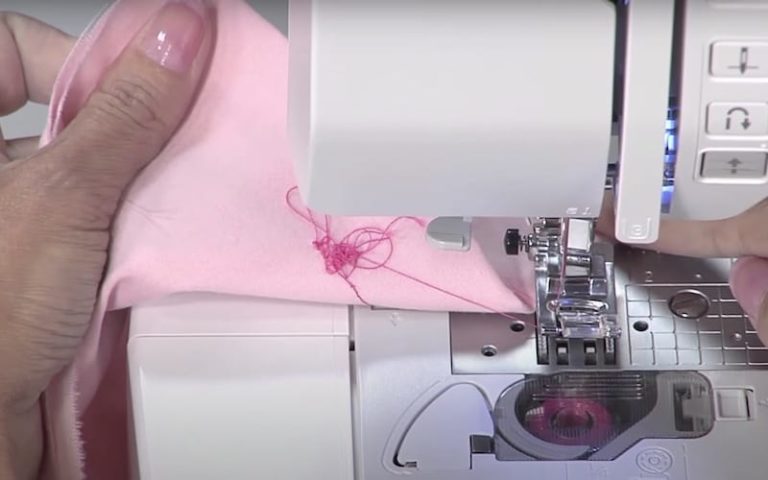
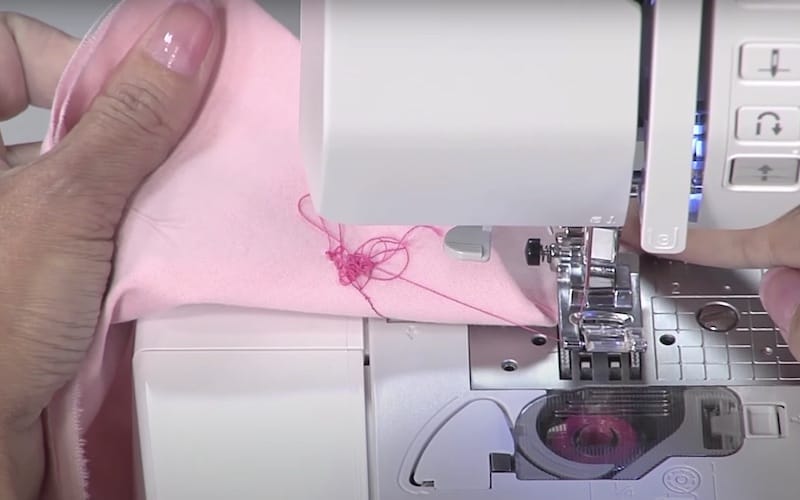
Bobbin thread bunching is also known as “birdnesting” because the tangled mess of loopy threads on the underside of the fabric looks somewhat like a birds’ nest.
This can be a nasty surprise when you turn your project over to find an unsightly mess of threads. This happens when the bobbin thread is not being properly pulled up by the spool thread, causing the thread to bunch up. This means that although the problem manifests in the bobbin thread, it is usually the upper thread that is the issue.
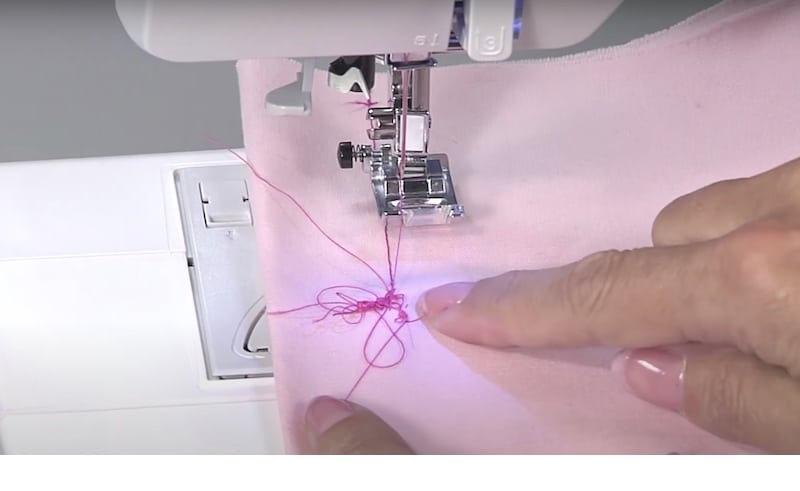
Frustratingly, when this happens, it means unpicking your work and starting again. Even more annoyingly, when you start to sew again, you’ll likely run into the same issues over and over if you haven’t taken any steps to remedy the problem.
Luckily, though, this doesn’t mean you need to give up on your project, as there is usually a simple solution. In this tutorial, we will cover the different problems that can cause bobbin thread bunching and how you can solve them.
What you will need to follow this tutorial
To stop your bobbin thread from bunching up, all you will need is your sewing machine and a few key sewing machine accessories.
The exact items you need will depend on what is causing the bobbin thread to bunch and, therefore, the specific solution.
However, it is a good idea to make sure you have handy:
- Your machine’s lint brush (or a photography brush)
- The small screwdriver that came with your machine
- A new sewing machine needle
- A new bobbin
- A spare bobbin case
How to fix bobbin thread bunching step-by-step
There are a few different things that can cause bobbin thread bunching. We’ll look at how to address each in order to discover the source of your problem and eliminate those messy birds’ nests.
Try each step on this list to see if it eliminates the bunching. If the problem persists, move on to the next step to troubleshoot the problem.
1. Check your upper thread tension
Bobbin thread bunching can commonly occur when the upper thread tension is off: if the tension is too loose, the thread will not pull up tight enough and this will cause thread bunching underneath your fabric. You may have accidentally brushed the tension dial, or perhaps you set the tension to the wrong setting in the first place.
Try adjusting your tension on your upper thread to make it tighter, and see if this makes a difference.
2. Rethread your machine
Another common cause of bobbin thread bunching is that your machine is incorrectly threaded.
Rethread your machine top to bottom, making sure that the thread passes through each and every thread guide. Check the threading instructions in your machine’s manual to make sure you’re following the correct process, paying attention to how the needle is threaded.
Also, double check that your bobbin thread is threaded correctly. This means taking the bobbin out of its case and re-threading it, again by following the instructions in your sewing machine’s manual.
After rethreading, double check that the bobbin thread is engaged with the bobbin tension by holding the bobbin thread in one hand while the bobbin is in the bobbin case.
If engaged correctly, the bobbin should unwind only an inch or two and the bobbin case should drop a little before being suspended in the air. If the bobbin unwinds all the way to the floor without resistance, you’ve missed the tension spring in the bobbin case.
3. Check the upper thread
If the upper thread is catching or pulling on something, this can also cause bobbin thread bunching. Because the upper thread cannot move freely, it cannot properly catch and pull through the bobbin thread, leading to bunching on the underside of your project.
Check along the length of the upper thread from the spool to the needle to make sure it isn’t catching on anything and that it can move freely.
4. Clean your machine
Dust in the machine, particularly in the bobbin casing, can cause the bobbin thread to bunch.
Open up the bobbin casing and take out the bobbin. Clean the bobbin area thoroughly with the lint brush that came with your machine and remove any dust, lint, or thread fabrics before replacing the bobbin and rethreading your machine.
If you don’t have the manufacturer’s lint brush anymore, a photography brush also works well. However, don’t use compressed air as this can blow the dust further into the bobbin area.
5. See if the bobbin wound properly
Although bobbin thread bunching is most often caused by an issue with the spool thread, the issue is sometimes closer to home. If the bobbin isn’t wound correctly, this will not feed smoothly and bunching may result.
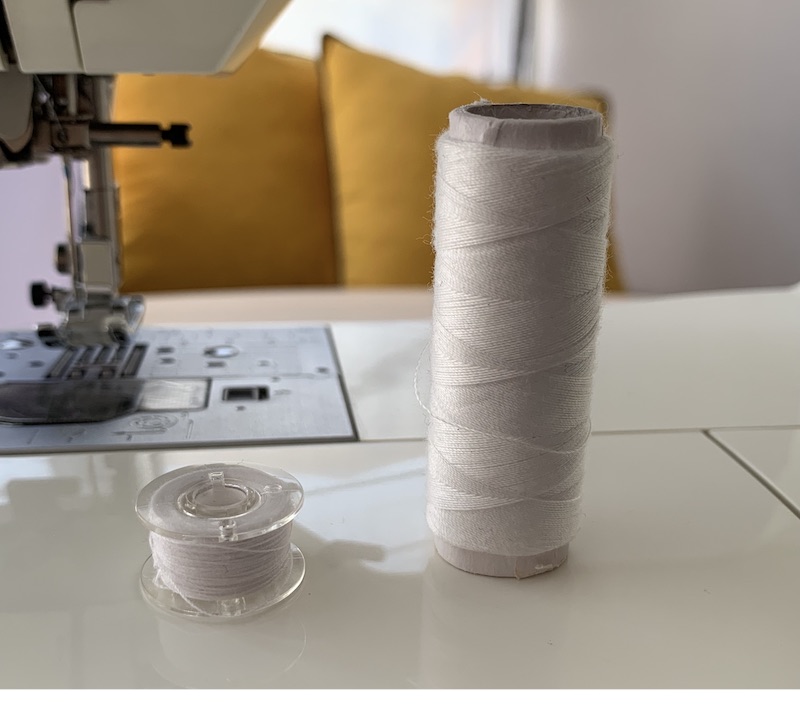
Take out the bobbin and examine it closely. The thread should be smoothly and evenly wound around the bobbin, without bumps or loose threads. If it is not, rewind your bobbin again, making sure that the bobbin winder is fully engaged to wind a nice, tight bobbin.
You should also check the edge of the bobbin for any cracks or bumps. If the thread is being caught on these, this can cause tension issues and may result in bunching.
Run your eye and your finger around each edge of the bobbin. If you notice any issues, replace your bobbin with a new one.
6. Change the needle
If you are experiencing bobbin thread bunching, the needle may also be to blame. Over time and with regular sewing the needle will become dull.
If you haven’t changed your needle in a while it could be that your needle is dull and is therefore not passing through the fabric smoothly. This means the spool thread may not properly grab and pull up the bobbin thread, causing bunching.
Try changing the needle for a new, sharp one and you may find that your problem disappears.
7. Check your bobbin case tension
A less common cause of thread bunching is loose bobbin case tension. This is more likely to cause bunching on top of the fabric, however, if you have tried the other items on this list and are still experiencing problems, it is worth giving it a shot.
Incorrect bobbin case tension can occur if the screw in the bobbin case has come loose, or if you have loosened it in order to use a thicker thread.
To check the bobbin case tension, thread your bobbin through the case and then pull gently on the thread. The thread should move smoothly, but with some resistance.
If it moves completely freely with no resistance, the tension is probably too loose. If it is unable to move smoothly, the tension may be too tight or the thread could be catching on something.
You can adjust the tension by tightening or loosening the screw in the bobbin case. Use the screwdriver that came with your machine to do this, making very small adjustments before testing the tension again.
If adjusting the bobbin case tension has no effect, try using a different bobbin case if possible.
8. Have your machine serviced
If you have tried everything to solve the problem and you’re still being plagued by messy birds’ nests, it may be time to have your machine serviced.
Regular servicing keeps your sewing machine in top condition, making sure that everything is working properly and that all the parts are moving smoothly.
See your manufacturer’s recommended service dealer for a service, and your machine should work like new once more. This will mean clean, neat stitches and no thread bunching!
Wrapping it Up
Bobbin thread bunching causes an unsightly mess on the underside of your fabric that can slow down or derail even the most experienced sewists.
By identifying the cause of the issue, you can quickly and easily resolve it, and go back to sewing flawless stitches to create a beautiful project.
Share this article with your networks to help other frustrated sewists resolve their bobbin thread bunching problems!

