Loose, sloppy stitching? Thread breaking far too often? You may need to adjust the tension on your sewing machine.
Sewing machine tension is a common fix for a number of your sewing issues, and it is super easy to do.
In this guide, you’ll learn how improper tension settings can affect your sewing, how different materials and projects are affected by tension, and how to quickly and easily change your tension.
Let’s get started!
What is “tension,” anyway?
Tension refers to the amount of pressure the sewing machine puts on the needle thread and/or bobbin thread.
If you raise the tension, it increases the pressure on the thread and makes it tighter. If you decrease the tension, it lowers the pressure and makes the thread looser.
Some fabrics and materials require special tension settings while most general applications are fine somewhere in the middle.
Thread weight and needle size also affect tension, so it is important to use the proper tools for the fabric as well.
- Lightweight and sheer fabrics need a small needle, thin thread, and high (tight) tension.
- Medium-weight fabrics, such as cotton, use average needles, medium thread, and medium tension settings.
- Heavy fabrics like denim or canvas need large needles, thick threads, and low (loose) tension.
The best way to make sure your tension is correct is to sew a test swatch of your intended material and check that it looks good.
What happens if my tension settings are wrong?
Imbalanced tension on a sewing machine can lead to all sorts of problems with your stitches and the general quality of your sewing machine’s performance.
Ugly stitches
Thread tension problems usually manifest as uneven stitching. In normal circumstances, stitching looks the same on both sides. When the tension is wrong, the stitches look fine on one side and messy on the other.
If one side of your stitching has little loops in between the stitches, or the stitches themselves are loose or puckered, your tension is not set properly.
You can tell which thread is causing the issue by which side of the fabric the ugly stitches appear on. If the loops appear on the top, the bobbin tension is too loose compared to the needle tension. If the loops appear on the bottom and the bobbin thread is bunching, the opposite is true.
Thread breakage
If you find your thread often breaking while you sew, there is a good chance that the tension is off.
Many other things can cause frequent thread breakage as well, so check for other signs of tension problems before changing your settings.
What to check before you adjust your tension settings
Sometimes the tension settings aren’t the only cause for tension issues. If other parts of the machine aren’t working properly, or are not on the correct settings for the material being used, that can affect the machine’s tension.
Here are a few things to double-check before adjusting the tension settings.
- Are you using the right needle for your fabric? – A needle that is too large for the fabric can force the bobbin (or needle) thread through to the other side of the fabric, causing the small loops between stitches that we discussed earlier in this article.
- Are you using the right thread for the fabric?- Same as the needle, if your thread weight is too low or high for the fabric you’re using, it can throw off your sewing machine’s tension.
- Are you using the same size thread on both sides? – If you use two different types of thread for the needle and bobbin, you will throw off your tension settings. You want the tension on both threads to be balanced, and that is much easier to do when both threads are the same size and type.
- Is there any build-up in your machine?- Check the bobbin case and the thread path for the needle to ensure that no dust or lint has clogged it up. Too much debris in the thread’s path can bog it down and make it harder for the thread to feed as needed.
If none of those fixes resolve your issue, it is time to adjust your tension.
How to change your tension settings
You can adjust your tension in two places:
- the upper (needle) tension
- the lower (bobbin) tension
However, it is much easier and more common to adjust your upper tension than your lower tension.
In most cases, changing your needle tension settings also remedies issues with your bobbin tension. If your tension issues are severe, you will need to adjust the bobbin settings as well.
Adjusting your upper tension
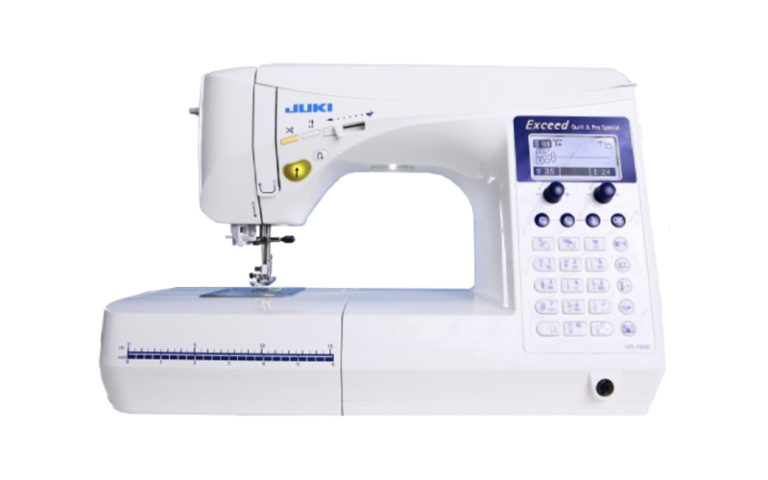
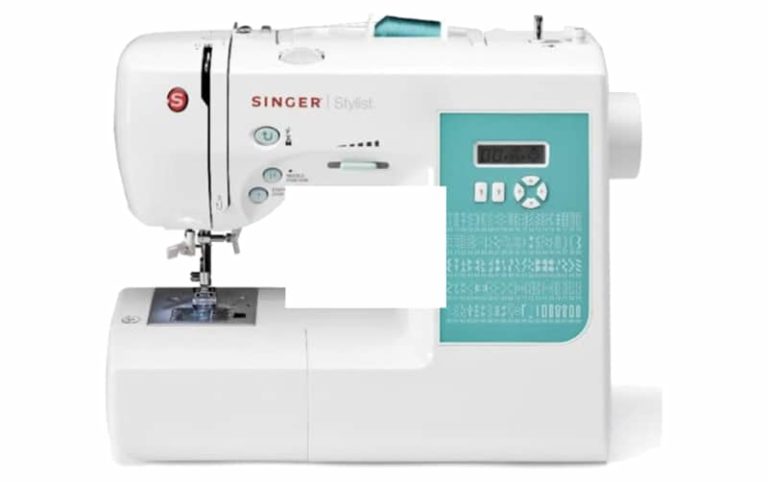
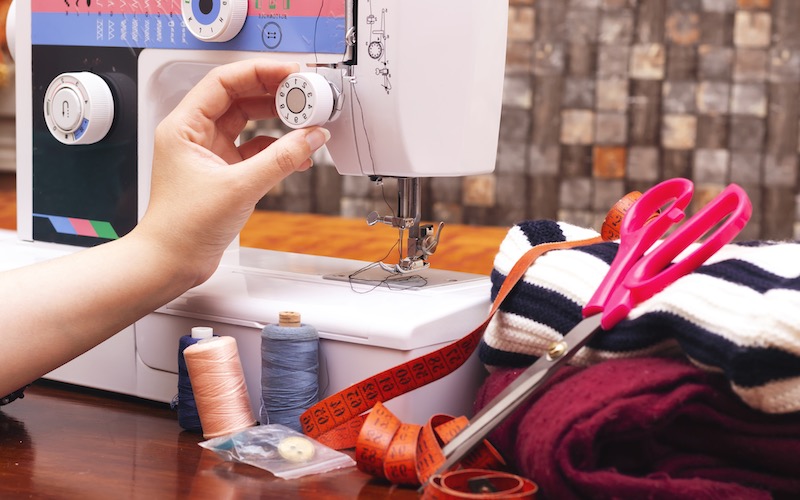
On a mechanical sewing machine, your needle tension controller is usually a numbered dial located near the top of the machine. On a computerized machine, it might be controlled via touch screen.
1. Locate your tension adjuster on your machine
Figure out where your upper tension adjustment feature is located on your machine. Consult your machine’s manual if necessary.
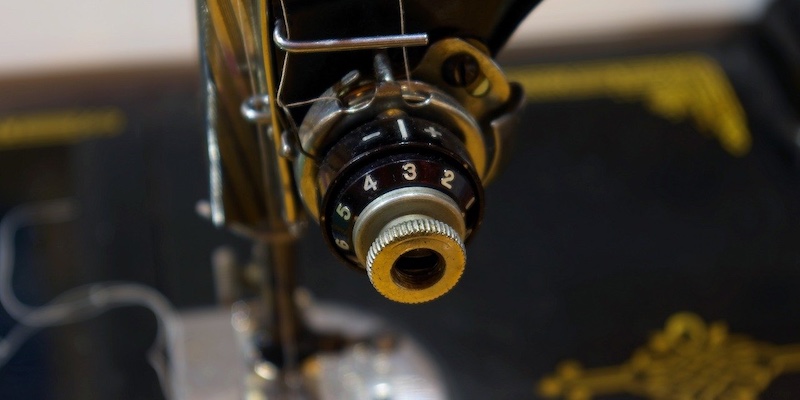
2. Adjust your tension a little at a time
Adjust your tension lower or higher by one number at a time. The higher the number, the tighter the tension.
If your stitches are loose or looping on the bottom side of the fabric, set your upper tension to a higher number. If the stitches are loose or looping on the top side of the fabric, then set your upper tension to a lower number.
3. Test your tension
Each time you make an adjustment, sew a small line of stitching on a scrap piece of fabric. If the problem persists, raise or lower the tension by another number and test again.
Adjusting your lower tension
If you cannot resolve the problem by changing the upper tension alone, you must adjust the lower tension as well.

1. Remove the bobbin case from your machine
Use a screwdriver to remove the bobbin case. If your machine does not have a removable bobbin case, you cannot change the lower tension separately.
2. Locate the small screw on the side
Your bobbin case should have a small screw on the side. Using your screwdriver, turn the screw a 1/4 turn to the left or right to tighten or loosen the tension.
3. Test your tension
Replace the bobbin case after each 1/4 turn and test your stitches on a scrap piece of fabric. Repeat the above steps as necessary until you get smooth stitch lines on both sides of the fabric.
4. Take your machine to a repair shop
If the problem persists after adjusting both thread tensions, take your machine to a sewing shop for service.
Wrapping it up
Well, there you go! That was everything you needed to know about sewing machine tension problems and how to fix them! If you have some advice about tension problems for your fellow readers, leave a comment in the section below!