How do I oil a sewing machine? What type of oil should I use? Why is it so important? If you own a sewing machine, these may be some of the questions you ask yourself.
Basic maintenance is an important part of using a sewing machine. If you don’t properly care for your machine, the mechanisms inside will wear down and break more easily. Cleaning and oiling your machine is one of the most important aspects of its upkeep.
If you’re not sure how to oil your sewing machine, follow our guide below to learn how. We’ll cover the basic techniques involved, what products you’ll need, and give you tips for the best results.
Let’s get started!
What you’ll need to oil your sewing machine
You only need a few basic tools to oil a sewing machine:
- A soft-bristled lint brush
- Sewing machine oil
- Screwdrivers
- Cotton swabs
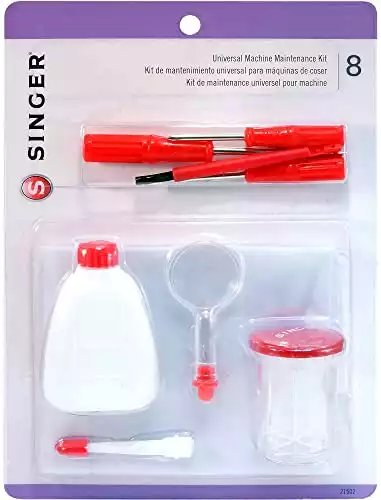
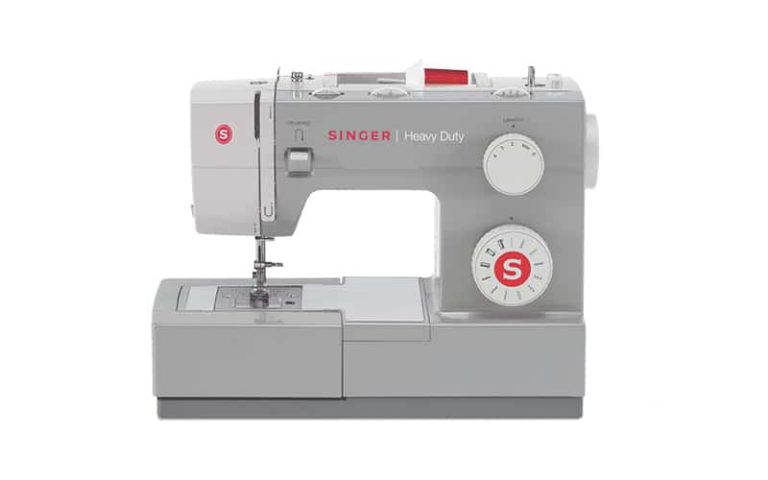
Usually, your machine will come with most of the tools needed to maintain it. If yours did not, you can get everything you need with this handy kit by Singer.
You will need a bigger bottle of oil if you plan to use your machine often.
Oil is available in two different types:
- Mineral sewing machine oil
- Synthetic sewing machine oil
Each type has its pros and cons, so you will need to assess what type of oil is right for you before buying.
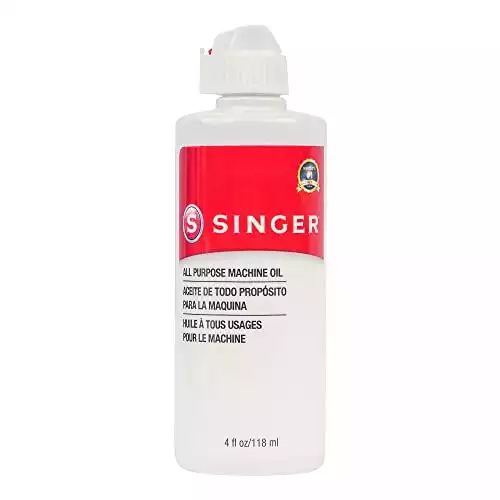
Mineral oil is the most basic sewing machine oil available and is the type that comes in the Singer kit.
It is an inexpensive petroleum-based oil, and it tends to leave grease marks on your fabric if you accidentally over oil your machine.
Singer Sewing Machine Oil is a great option for this type of oil.
Synthetic oil is a more expensive alternative to mineral oil. It can be used on plastic as well as metal, so many sewers who have a machine with a plastic casing prefer it.
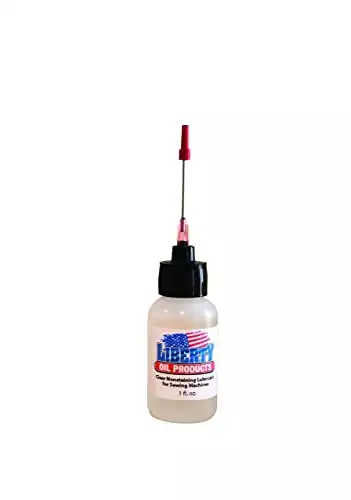
It also won’t stain your fabric if it comes into contact with your project, so it is a more forgiving product if you tend to over oil your machine. Liberty Sewing Machine Oil is one of the more highly-rated synthetic oils.
How often you should oil your sewing machine
As mentioned above, cleaning and oiling your sewing machine is an important part of its maintenance. Not all sewing machines need to be oiled, but they do require regular cleanings.
How often you need to clean or oil your machine depends on how much you use it. If you use your machine infrequently and store it for long periods of time, you should clean and/or oil it before each use. If you use it more often or live in a dry area, you should oil it at least once a week.
How to oil your sewing machine
Oiling your machine can seem intimidating, but it is actually quite easy and takes less than ten minutes to complete.
This video gives you a good overview, and we also break down the process in the steps below.
1. Check your owner’s manual
Each sewing machine is different, so it is important to consult your owner’s manual before attempting any maintenance. Your manual will tell you if your machine needs to be oiled and which parts to oil.
Your manual may also give you step by step instructions for servicing your machine. If that is the case, you should always follow the manufacturer’s instructions above all else. You may void any active warranties if you deviate from their recommended techniques.
2. Remove the needle
Before cleaning or oiling your machine, always remove the needle first. This will prevent an injury if your hand slips, and it allows for more room to maneuver while cleaning. You can also remove the presser foot or the entire needle arm if you want even more space to work.
3. Remove the needle plate and bobbin case
Use a screwdriver to loosen the screws and remove the needle plate (the metal piece directly beneath the presser foot). Once it is removed, you should be able to easily lift the bobbin case from the machine.
4. Clean the feed dogs and bobbin well
Use your brush to clean out any debris from the feed dogs and the well beneath the bobbin case. These areas will get clogged up very quickly with lint from the thread, so take your time and be thorough.
5. Oil the bobbin area
If your machine requires oiling, put a drop of oil onto a cotton swab and rub it around the area beneath the bobbin case. A little goes a long way, so use just enough oil to lightly coat the well.
6. Oil any other area specified in your manual
Many machines only require the bobbin area to be oiled, but some models need further maintenance. This might mean the needle arm or anywhere else where metal moves against metal. Your manual will tell you if any additional parts need your attention.
7. Replace any parts you removed
Place the bobbin case back into the well and reattach the needle plate. Replace the needle arm if you removed it earlier. Take the opportunity to swap your old needle for a new one if needed and secure it in the needle arm. If you had to remove any other pieces of your machine per the owner’s manual, reattach those as well.
8. Wipe down your machine
Use a paper towel or piece of scrap fabric to wipe off the outside of your machine. If you accidentally got any oil on the outside of your machine, you want to clean it off before using the machine again.
Additional Tips
- Be sure to test your machine before you use it to ensure everything was reassembled properly.
- Don’t use compressed air to clean out your machine. As tempting as it is to blow away all those pieces of lint, you are more likely to push them further into the machine and clog up a delicate mechanism.
- Use a dust cover when your machine is not in use to reduce the amount of debris that gets inside.
- Can’t find your manual? Google the make and model. The manufacturer may have a PDF version available online.
- Sew on a piece of scrap fabric after oiling to soak up any excess or spilled oil.
- At-home maintenance is just the first step to a long sewing machine life. You should get your machine professionally serviced once a year for optimal performance.
- Be careful using any sewing machine oil substitutes as the wrong type of oil can damage your machine.
So there we have it! Everything you need to know about cleaning, oiling, and maintaining your sewing machine.

