Macrame is one of the easiest crafts you can make with just a few affordable materials and tools. If you’ve ever wondered how to create it, read on to learn everything you need to know about macrame jewelry, how to make it, and some fun tutorials to get you started.
What is macrame jewelry?
Macrame is a handicraft that uses a range of knots to create textiles and home decor items like wall hangings, plant hangers, coasters, bags, and clothing items. This craft has a long history, going back to Arab traders and sailors who used their knotting knowledge to create decorations for their ships.
You can create simple to highly intricate pieces by knotting multiple strands of cord in repeating patterns.
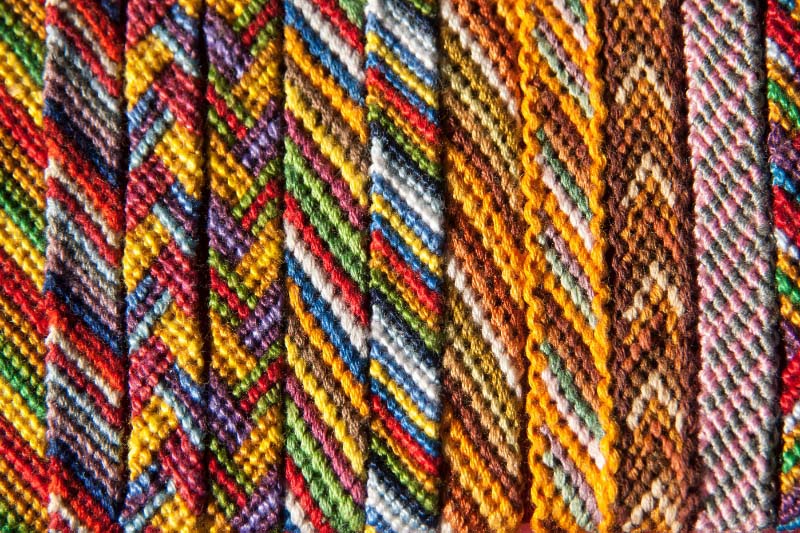
Macrame jewelry has also been trendy for decades, with the technique most notably being used to create friendship bracelets. However, there’s much more to this style than the bands made from tight knots that we gift each other as children as a symbol of friendship.
Macrame can be used to make all kinds of jewelry and accessories, including twisted bracelets, necklaces, earrings, anklets, and rings.
Traditionally, people made macrame pieces from cotton, linen, or nylon cord, but you can use almost any material. More recently, crafters have started using materials such as leather, yarn, paracord, and silk.
This craft also has amazing potential for incorporating other mediums and materials, such as links, beads, charms, stones, jewels, and feathers. This makes macrame jewelry incredibly diverse: you can use the art form to create virtually any design.
How to create macrame jewelry
Macrame is one of the simplest and most affordable jewelry-making techniques, partly because you don’t need many supplies. For most projects, all you’ll need is some cord, scissors, and something to hold the cords in place while you work (more on this later).
For many projects, you’ll also need a fishing line or some kind of fastener or hardware to finish the piece.
What do you need to make macrame jewelry?
For cord, you can use virtually any material, such as:
- cotton
- jute
- hemp
- wool
- nylon
You can even experiment with using different materials to make the same design with different results.
Is it difficult to make macrame jewelry?
You don’t necessarily need to master macrame before starting to make jewelry and accessories. However, if you’ve never tried macrame before, it’s a good idea to familiarize yourself with the basics with a video like this one.
Like any craft, macrame can be very easy or quite difficult, depending on the design and the techniques you need to use. In macrame, the main thing which will determine how difficult any given project is are the knots used: any design that relies on basic knots will be much easier than one using more advanced knots.
If you want to add extra elements like charms and jewels, this will also make the project somewhat more difficult.
There are lots of written and video tutorials available online – look for macrame tutorials for beginners, and try to find ones that break down how to make each knot step by step.
As you advance in the craft, you can move up to patterns that assume you already have some knowledge of macrame.
Which knots do you need to know to make macrame jewelry?
Macrame uses many different knots, though you don’t necessarily need to know all of them to make macrame jewelry. Some macrame jewelry designs use only one or two basic knots, so it’s a good idea to work with these kinds of projects when you’re getting started.
As you advance and hone your craft, you can attempt more complex pieces that make use of multiple types of knots such as:
- Square knot
- Overhand knot
- Lark’s head knot
- Hitch knot
- Gathering knot
Is it worth using a macrame board?
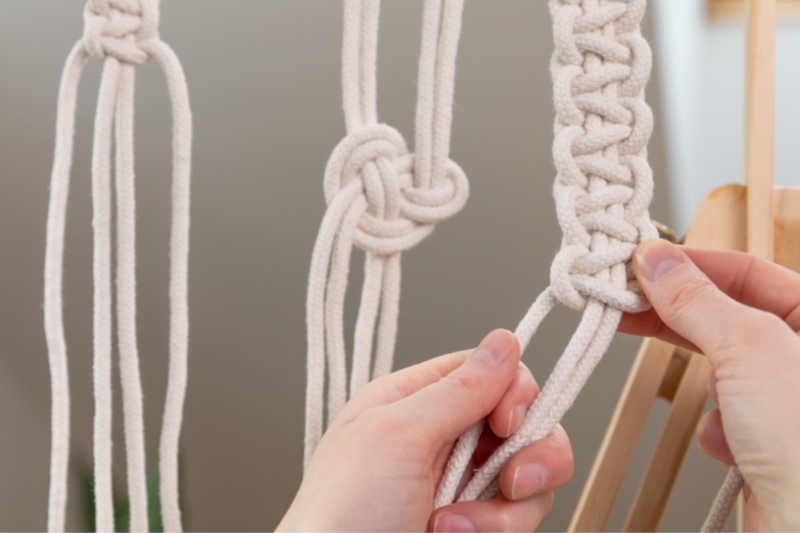
Creating macrame is rather like braiding: you work with multiple strands of cord, and knot them together in a pattern. Therefore, having something to hold the cords in place can be helpful as this will make it easier to keep your knots as neat and tight as possible.
You can use a clamp, clip, or a macrame board to do this. Although a board is not essential, it is an easy way to hold everything in place and help you achieve neat, tight knots.
We love this macrame board which lets you place multiple pins wherever you like to manage different pieces and lengths of cord. You can also get it as part of a set with a stand that tilts the board to make it easier to work, and has a handy ledge to hold your tools and supplies.
You can also make your own version of a macrame board with a piece of plywood and a couple of nails, or by sticky-taping your cord to your work surface.
Tips for making macrame jewelry
Here are some handy tips to make it easier to create amazing macrame jewelry:
- If you need multiple cords cut to the same length, tape two pieces of dowel to your workspace, setting them apart at exactly half the length of the cord you need. Then, wrap your cord around the two sticks, one time for each cord length you need, and cut through all the loops to get pieces of the same size.
- If making a necklace, measure the length by holding a piece of cord or fishing line around your neck so it sits in your desired position. Always allow a little extra length for the ties on each end.
- If you’re making a bracelet, you can measure it by wrapping the cord around your wrist. Make sure you leave a bit of give, so it’s not too tight but not so much that it will slip off over your hand.
- When working with a 3-ply cord, knot the ends or fix them with tape to stop it from unraveling as you work.
- When trimming the fringe to finish your project, tape the fringe down to stop it from moving, and then cut underneath the tape. This will give you a straight, even end on your fringe.
- If you make a mistake when working with double half hitch knots, you can pull on the anchor cord to loosen the entire row.
Some fun macrame jewelry tutorials to get you started
We’ve gathered some of our favorite tutorials to teach you the basics of macrame jewelry and inspire you with cool projects. These projects are all beginner-friendly, though, for some, you’re better off having some experience with the craft.
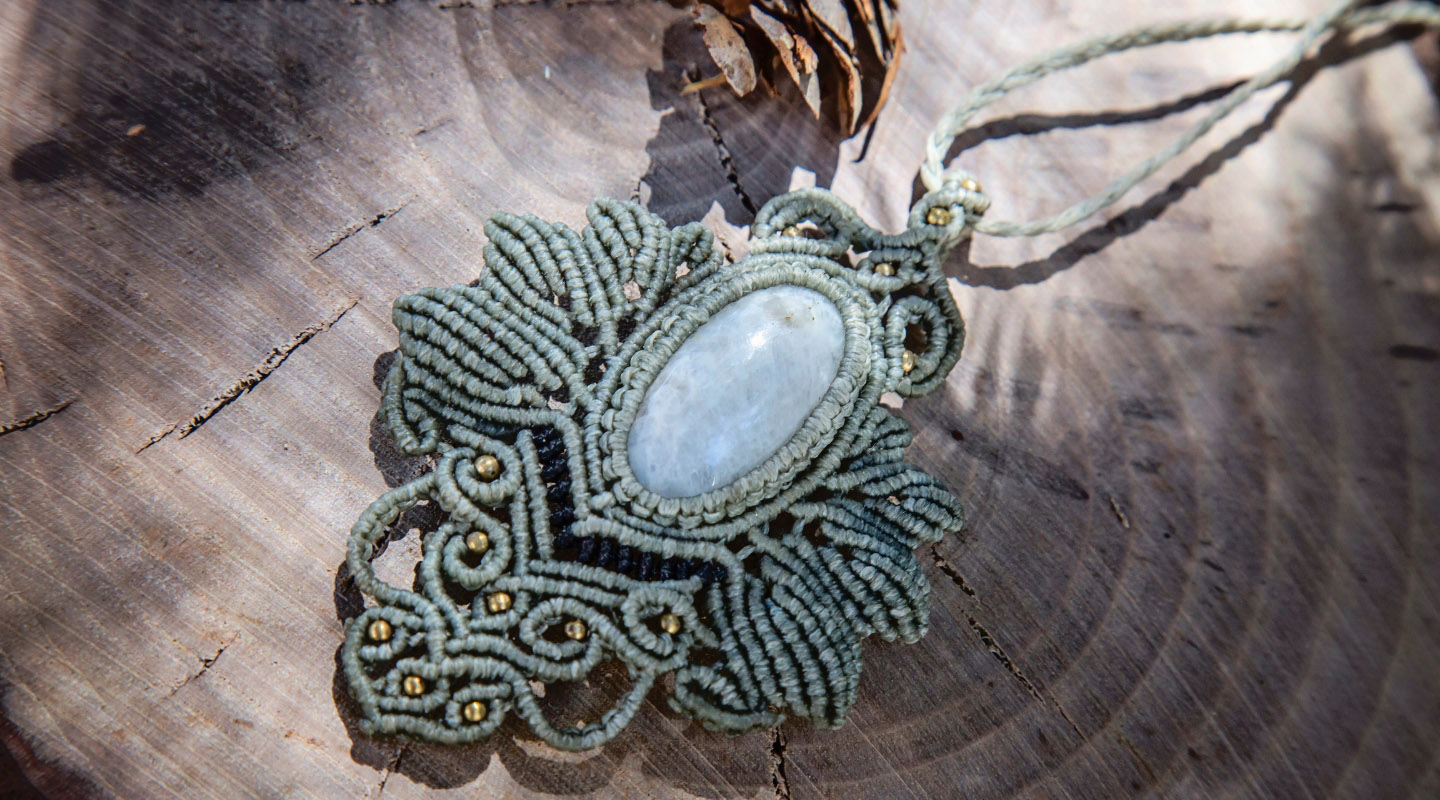
1. Beautiful stone macrame necklace tutorial
This video shows you how to make a stunning macrame necklace featuring a large central stone framed with intricate, vintage-style knotwork.
To make this dramatic piece, you’ll need 1mm waxed thread in two different colors, a feature stone, round beads in three sizes, and a bead and charm for finishing. Other than your hands, the only tools you’ll need are a good-quality pair of scissors and a lighter.
You start by making a base line of approximately five feet (1.5 meters) from your main color, then knot your way down with two lines of knots, leaving just enough space between the rows for the width of your stone.
This will be one side of your stone wrap, or the edge that will keep your stone in place. You then flip your project, and work down the other side to complete the opposite side of your wrap.
Once you’ve finished the stone wrap, you’ll move on to the intricate border design, weaving cord in between the knots before creating the border with hitch knots in both colors and adding beads between knots.
See the full instructions on the video here.
2. Geometric macrame earrings
These cute macrame earrings have a vintage, boho feel, with long fringe cascading from a knotted geometric center. All you’ll need is 12 x 50cm lengths of 4mm cotton cord in a single color of your choice, and a pair of ring shaped earring blanks, as well as a pair of scissors and a comb.
You can then start working with your macrame directly on the earring blanks, looping six strands around the blank to create your base lines. You’ll then take one of the first pair of stands, knotting this around the remaining cords from the first two pairs, and then do the same with one of the strands from the second pair.
After repeating this process for the second and third sets of strands, you knot the strands between the pairs to create the final pattern and knot the edge to create a border. To finish, you’ll cut the cords to a consistent length and then comb them out to create a fringe and trim it off, so it’s neat.
Watch the video tutorial for a detailed breakdown of the process.
3. Seven chakra macrame bracelet
This classic macrame bracelet features seven gemstone stone beads to represent the body’s seven chakras. It also has an adjustable clasp that you can tighten or loosen, made entirely from cord.
You can use any beads in any size you like, though beads with 1.5mm holes are ideal if using 1mm waxed cord. Apart from the seven beads, you’ll just need two smaller beads in a material of your choice and some 1mm waxed polyester or nylon macrame cord.
This is a simple, beginner-friendly project: you only need to make a row of basic knots along the base line, then thread your gemstone bead on the base line, secure it with a knot, and repeat the same process for the other six beads.
To finish, you’ll make another row of basic knots on the other end, and then create the adjustable closure with more basic knots, burning the end of the cord to prevent fraying.
Follow along with the video to make your own seven chakras bracelet. The video shows you each step of the process in detail, letting you jump right in even if you’ve never done macrame before!
4. Macrame friendship bracelet
No list of macrame jewelry would be complete without a friendship bracelet, and this tutorial will show you how to make not one, but two classic designs that make the perfect gift. Both are beginner-friendly and can be whipped up in no time at all.
One of the bracelets features gold beads and spacers, while the other has an adorable heart charm – though you could use any charm that has a hole on either side big enough to thread the cord through. You could also replace the beads with whatever decorative elements you would like.
Along with these accessories, you’ll need 0.8mm nylon thread and small beads to finish the strand ends.
To make the beaded bracelet, all you’ll need to do is make a double row of basic knots along a single base line. You simply make a knot with the left thread, then the right thread, and so on.
Once your row reaches your desired length, you add your beads and spacers, securing with knots, then make a sliding clasp to finish.
For the charm bracelet, you’ll start by threading the cord through the charm on each side, and creating rows of small, tight knots from there, before securing a bead on the end of each strand to finish.
5. Interchangeable macrame crystal pendant
The interchangeable pendant is another classic when it comes to macrame jewelry. These versatile necklaces let you swap the feature crystal in and out to match your outfit or mood.
Made from string with just a few basic knots, this is an ideal project for beginners, including first-timers. You’ll need six-strand embroidery thread, beeswax, a wooden bead, a large eye needle, scissors, tape, and one or more crystals.
You’ll start by waxing the embroidery thread on a beeswax candle or any other piece of beeswax you can find. To make the necklace, simply take four sections of waxed thread, fold them in half, and then loop them together in a star pattern.
Next, hold the threads in place while you make knots on each pair of threads, before making more knots at intervals down the thread, gradually incorporating the other pairs of threads in the knots until you’ve created a mesh pattern.
Once you’ve made a netting tube the correct size for your crystal, you’ll knot all the threads together, and add the wooden bead at the top.
Follow along with the video tutorial here, which also shows you how to put in and replace the crystal.
6. Micro macrame flower ring
We simply love the intricate pattern on this ring, created in micro macrame and different sized beads. The ring is made with delicate 0.4mm s-lon thread, a 6mm round feature bead, as well as 2mm and 3mm round beads.
The design in the tutorial uses an elegant combination of sage thread with bronze and silver beads, but you could create a range of different effects by playing with different types of thread and beads.
You’ll start by creating two rows of knots on two holding cords, and then knotting the two holding cords together at a 90 degree angle. From there, you’ll work with the cords from your two rows of knots to create your flower, working in the beads as you go.
This design is best suited to intermediate and advanced-level crafters, given its complexity (not to mention the fiddly nature of working with tiny knots). Check out the video tutorial and follow the instructions step by step and master the art of micro macrame.
Final thoughts
You don’t need to be a master of macrame in order to make some stunning jewelry pieces, though at least a basic knowledge of the basics will be helpful.
For most of these projects, all you’ll need is some cord, perhaps a few beads or charms, and some simple tools like scissors and a lighter.
With these basic resources, you can create truly stunning, intricate designs for necklaces, pendants, bracelets, and rings.
If you’ve enjoyed this post on how to create macrame jewelry, take a look at our other posts on macrame kits, macrame cord and macrame bracelets.