A serger is an invaluable tool for any sewist, but if you’ve only ever used a regular sewing machine it can be like learning to sew all over again!
Let’s take a look at the basics of sergers, as well as seven awesome serger projects to practice your serging skills.
New to sewing? Check out these 9 easy sewing projects for beginners.
Serger basics: what you need to know
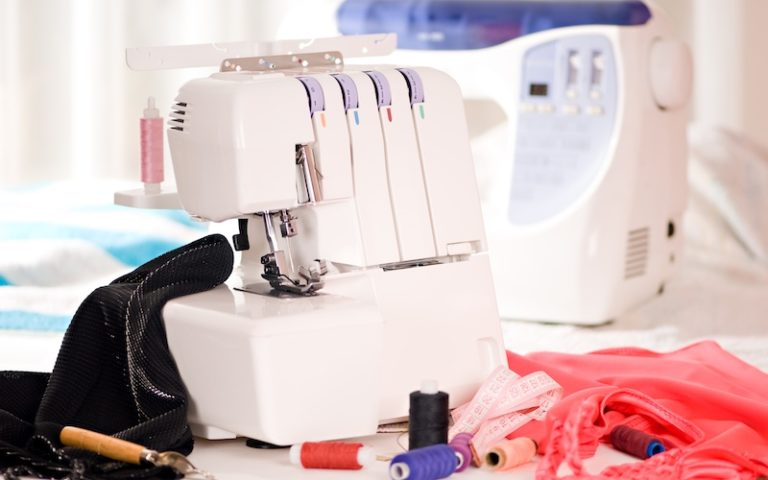
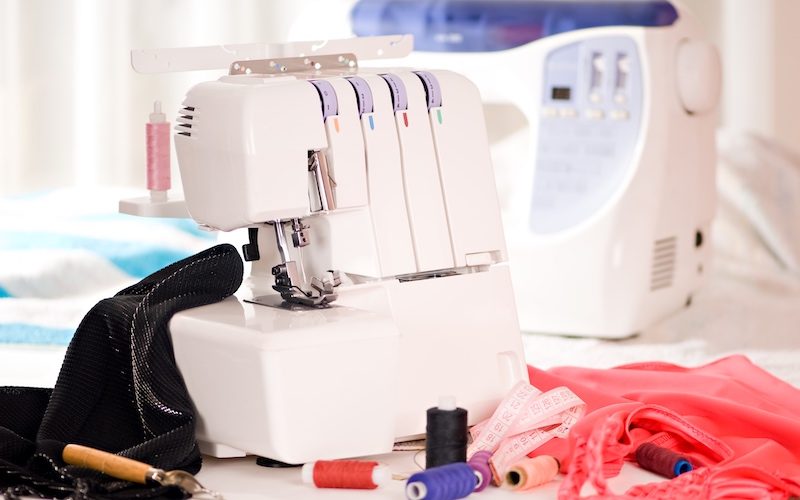
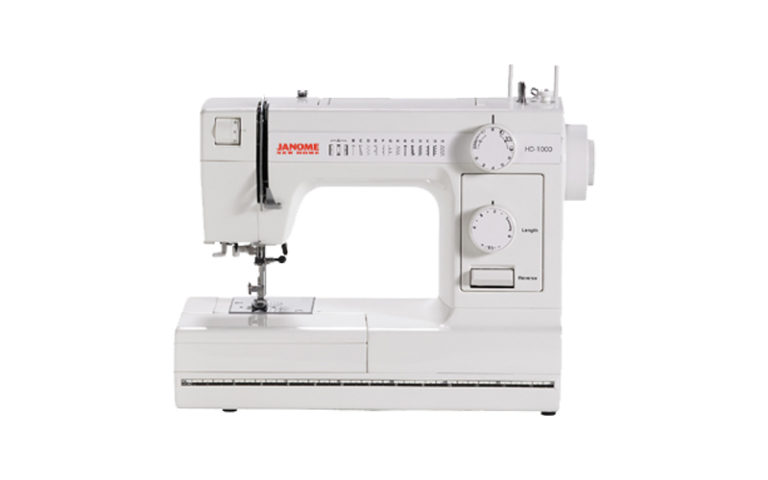
Like a sewing machine, a serger is a machine used to sew pieces of fabric together. It is sometimes also called an overlock or an overlocker.
A serger differs from a regular sewing machine in a few ways. Most notably, it doesn’t just sew the fabric as it stitches, but it also cuts the fabric.
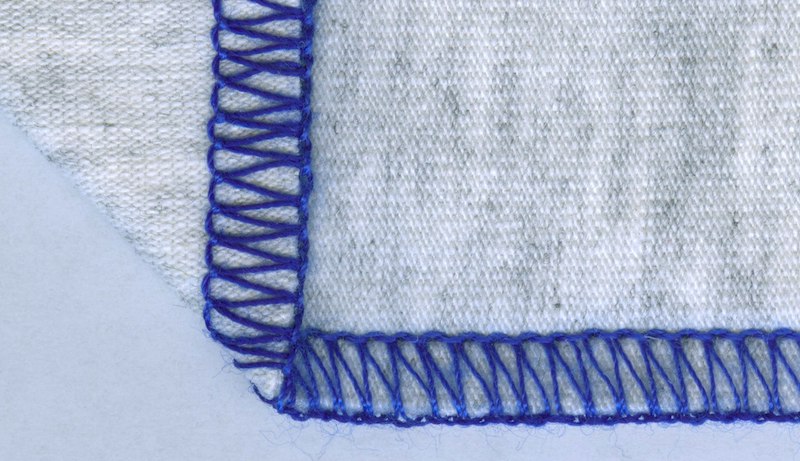
A serger has an inbuilt knife or cutting tool that slices off excess fabric, seals the hem, and creates an overlocking stitch all in one step. This makes finishing seams much quicker: by sewing the seam and overlocking the edge at the same time, a serger literally cuts sewing time in half.
Source: Wikimedia
A serger is typically used for creating hems and edges on garments, home décor items and accessories. Serged edges look professionally-finished, just like an item you would buy in a store.
The specific functions found in a serger open up a range of new creative experiences and make new kinds of projects. You can use a serger to finish your edge with a rolled hem or create decorative edges with thicker threads.
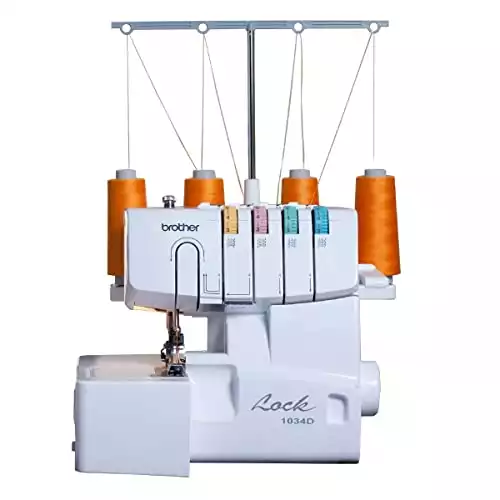
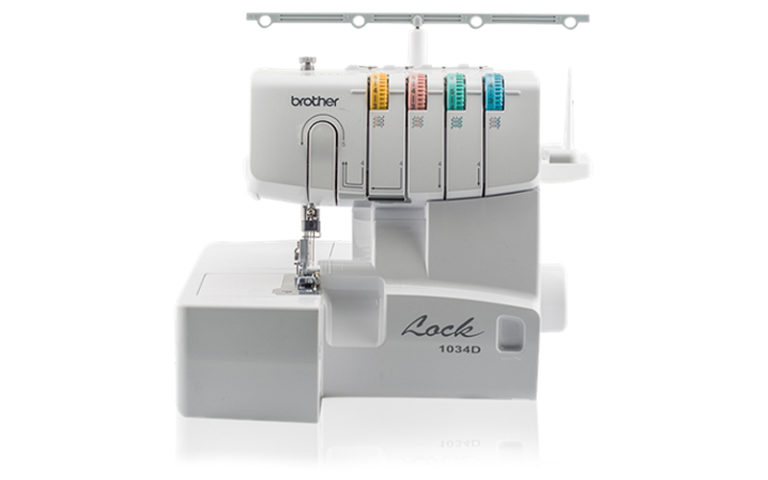
This makes sergers very popular with small businesses, boutique dressmakers and sewing enthusiasts. Not only do you get a professional-looking result when using a serger, you can also sew much faster – perfect for those who sew in bulk! Brother 1034D, for example, is one of the popular highly-rated models today. And if you a Singer fan, check out our Singer 14CG754 review.
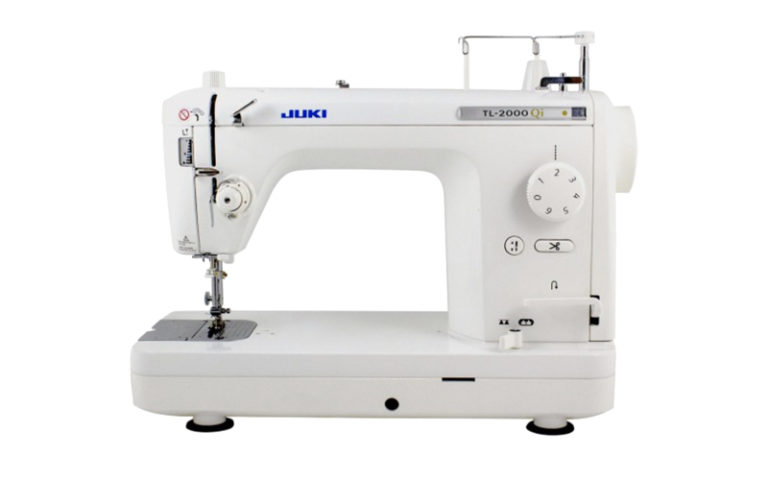
However, there are certain types of seams and sewing tasks that a serger cannot do. You cannot sew topstitching, facings, zippers or buttonholes for example – you need a regular sewing machine to do that.
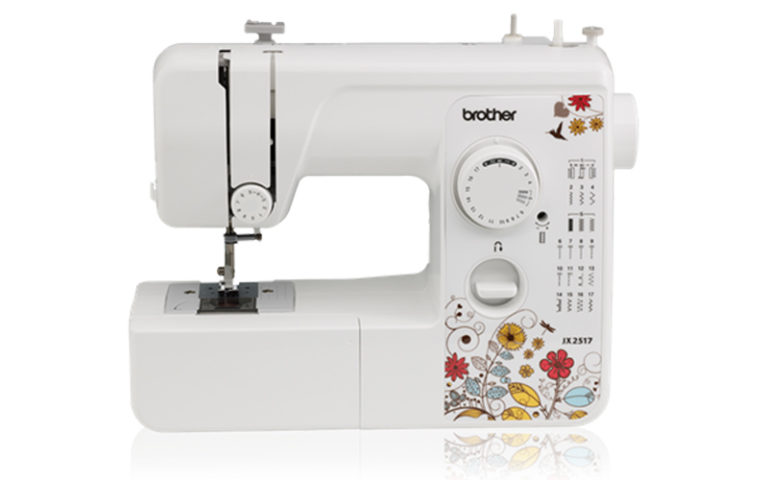
For this reason, many sewists have both a serger and a regular sewing machine and use both to complete their projects efficiently for the best results.
A quick guide to using a serger
A serger is an incredibly useful machine and is invaluable for anyone who loves to sew. However, it does take a bit of getting used to, especially if you’re accustomed to using a regular sewing machine.
The exact process will depend on the model you’re using, but here’s a basic overview of how to use a serger:
1. Preparing your threads
Threading a serger is quite different from threading a regular sewing machine.
Unlike a regular sewing machine, sergers use not one, but four upper threads and all of these need to be threaded before using the machine. Be sure to use serger thread: these are big cones of thread are needed because a serger uses much more thread than a normal machine.
Although these large cones may seem expensive, they are much more cost-effective than using the smaller spools you use on your sewing machine. Additionally, if you use regular spools this may adversely affect the tension of your thread.
2. Threading
It is important to thread all four threads correctly otherwise your serger will not work properly.
Check your serger’s instruction manual on how to thread your individual machine. This can be pretty complex, but there should also be a diagram printed on the side of your serger.
One “cheat” for threading a serger is to tie the new thread to the tails of the old thread that is already threaded through the machine. You then pull the threads all the way through the machine until your new thread goes all the way through the loopers.
Then all you need to do is cut the thread just above where you knotted it with the old thread, pull it through the relevant guides (again, check your manual) and thread each needle. That’s right – a serger has two needles!
Make sure to thread each needle in the order as specified in your machine’s manual to avoid the threads becoming tangled.
3. Stitch tension
Each of the four threads on a serger has its own dial that controls the tension of that thread.
Just like a sewing machine, you need to adjust the tension according to the fabric and thread you are using. Unlike a regular sewing machine you’ll need to adjust each of the four dials for consistent tension.
It is easy to accidentally adjust the tension dials when threading your serger, so be sure to check these every time after threading and adjust as necessary.
4. Feeding the fabric
Feed the fabric through the machine, lining up your desired edge with the side of the presser foot. The exact spot where your serger trims the fabric will depend on your machine, so be sure to check the manual and play around with this on test fabric first.
Always remember that the serger trims the edge as you sew. One careless or reckless moment, and your whole project could be destroyed!
5. Tucking your thread tails
Once you’ve finished serging your edge you need to tidy away the thread tails. There is a particular method for doing this that is different to finishing a stitch on a sewing machine.
Take a large yarn needle and slide it through the stitching, leaving the eye of the needle exposed at the end of your seam. Pull the thread tails through the eye of the needle and then pull the needle all the way through the stitching and out the other side.
Trim the remaining thread tails and the rest will be neatly hidden underneath your stitching.
Of course, this is general advice that covers most sergers. As mentioned, you should always check your serger machine’s manual for instructions on how to use that particular model, just as you would with any sewing machine.
Some tips for getting the most out of your serger:
- Learn to sew on a regular sewing machine first. This will allow you to learn the basic principles of sewing before moving on to the serger.
- Threading a serger needle is pretty fiddly – even more so than a regular sewing machine needle! Using a needle threader can help.
- When you buy a new serger, it is usually already threaded with a test thread, so you can follow the “cheat” method to thread your machine for the first time with your desired thread.
- Practice extensively with your serger before launching into major projects. Use scraps of fabric to test out the serger and try its different functions, working with woven fabric and then moving your way up to stretch fabrics.
- Online tutorials are a great way to practice the basics and develop your skills. Try some of the easy projects mentioned below!
Seven easy serger projects
Using a serger can be intimidating. Even if you’re an experienced sewist on a regular machine, getting familiar with using a serger can be like learning to sew all over again.
These projects will let you practice and develop your skills, allowing you to get comfortable with using a serger. Not to mention they provide some inspiration for all the wonderful things you can make on your serger!
Many of these projects are quick and easy, and unless otherwise mentioned, all the tutorials on this list are free to access.
1. Easy napkins
When you’re learning how to use your serger, it’s good to start with something easy while you get the hang of producing professional-looking serged seams. These napkins make the perfect first project on a serger.
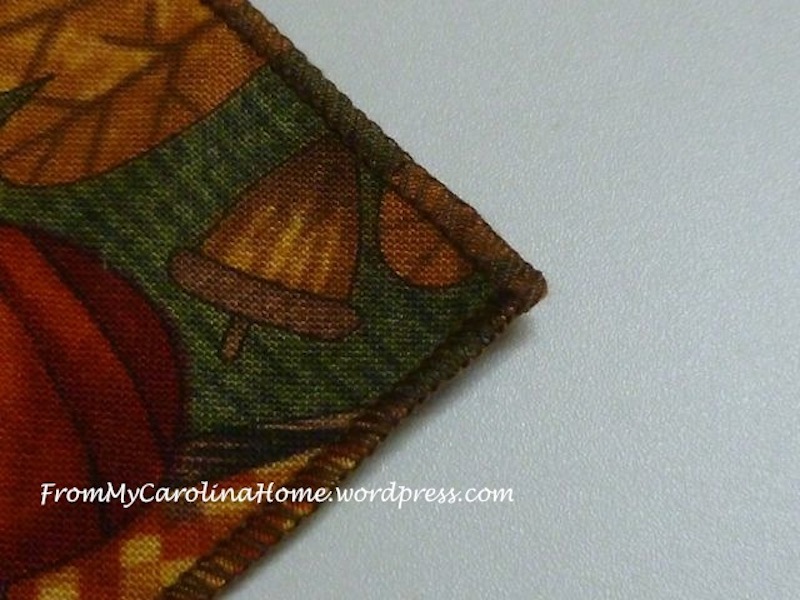
This easy napkins tutorial covers serger basics and how to put them to use to create formal napkins to decorate your dining table. This is particularly handy if you’re making placemats or a table runner and would like some napkins to match.
These napkins are not only easy to make, they’re super quick too: you’ll be able to serge four napkins in around half an hour.
You could make this project on a regular sewing machine with a few modifications. However, this tutorial shows you how to use a serger to make professional-looking napkins quickly and easily.
In particular, the tutorial shows you how to get perfect serger corners. This will not only help you produce professional-looking napkins, but you’ll be able to apply this skill to countless future projects!
2. Infinity scarves
Infinity scarves are an effortlessly cool accessory that is perfect for virtually any outfit. They look amazing with jeans and a simple t-shirt, or can be made with a metallic or chiffon fabric for a more formal look.
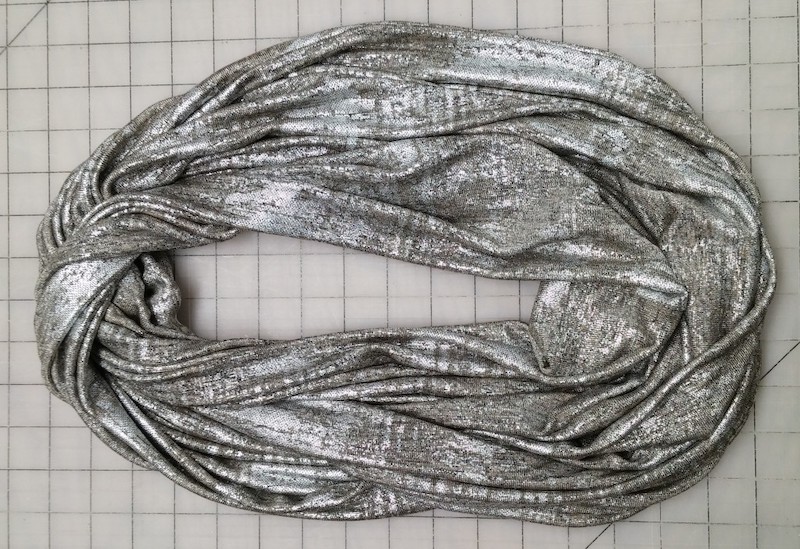
If you have no idea what to get a friend or family member for their upcoming birthday, an infinity scarf makes the perfect gift!
Better yet, these scarves are super easy to make and look amazing with serged edges, especially when you use a metallic knit or similarly light fabric. This tutorial shows you how to make a stunning infinity scarf on your serger.
The tutorial uses a particular method that reduces the amount of hand-sewing you need to do to finish the scarf and creates clean, professional-looking edges.
If you don’t have a serger, we also have a version of this scarf that you can make on a sewing machine – you’ll find it in this round up of easy sewing projects.
3. Embellished pillow
Looking for a home décor project that will stretch your skills? This project is a little more difficult, so it is recommended for intermediate sewers. This makes it a great way to take your skills to the next level once you’re reasonably confident using your serger.
This 80-minute online class will show you how to create a stunning embellished pillow, while teaching you a large number of skills, including the beaded serger rolled edge, box pleats, micro-piping, embroidery, and a unique way to insert a zipper. It also covers how to create a ric-rac rope and how to incorporate Zentangle into your sewing.
Zentangle is a drawing method that you can use to create stunning, structured patterns with combinations of dots, lines and curves. This class shows you how to apply this innovative method to your sewing.
It should be noted you’ll need to pay to access this class – at the time of writing, the class fee was $19.99. However, this is a small price to pay to learn a range of serger and sewing skills that you’ll be able to apply to countless future projects.
You also get a free PES-only embroidery design for Baby Lock embroidery machines, included in the class price.
4. T-shirt scarf
This serger-only project uses eight t-shirts to make a cool and individual scarf. It’s an innovative way to recycle old shirts, or you can pick up some cheap shirts at your local charity shop.
Depending on the t-shirts you use, you can create a very different scarf, that may feature logos and graphics from the shirts. Pick something that represents your quirky sense of style to show off your personality, or make an individualized gift for a friend or family member.
The video tutorial shows you how to make a DIY cardboard template and cut out squares from the front and backs of the t-shirts with a rotary cutter. You can also use fronts only if you want to include more graphics or colors, but then you’ll need more t-shirts to use as fabric!
The t-shirt pieces are then serged together to create two long lines. If you’re familiar with the basics of serging this is very easy to do as requires serging straight lines.
There are some considerations in how you put your t-shirt pieces together, but the tutorial clearly explains how to do this.
Finally, you serge the two sections together to create both sides of your scarf, and you’ll have a very unique accessory!
5. Downton Abbey-inspired hair accessory
If you’re one of the many fans of the period series Downtown Abbey, you’ll know that one of the best things about this show were the stunning early-20th century fashions. This project has taken this inspiration to create a charming ruffled headband.
This headband references the period without being over-the-top, making it a stunning and versatile accessory. Whip one up to add to your wardrobe, or gift it to someone you love!
This easy tutorial shows you how to make the cute headband in virtually no time at all and all you’ll need is a thin, flat head band, some ribbon, jewelry glue, and, of course, your sewing machine or serger!
The tutorial recommends using jewelry glue to fix your ruffles to the headband as it dries completely clear, but you can also use fabric glue. A white ribbon will give you the full Downton Abbey effect, but why not play with other colors or patterns?
6. No pattern t-shirt and dress
Who doesn’t love multi-purpose garments? This garment could be worn as a t-shirt or as a dress, and is super easy to wear with an effortless drape.
Made from a jersey or knit fabric, it is extremely comfortable, doesn’t need to be ironed, and can be thrown in the washing machine.
This garment is as easy to sew as it is to wear: it is so simple, you don’t even need a pattern! It’s sewn from two squares of fabric that are stitched together: this tutorial shows you how in a few simple steps!
The tutorial explains how to make this garment on either a sewing machine or a serger. Both methods work just fine, but using a serger is much quicker, not to mention easier to produce perfect edges.
If using an overlocker, there are a few parts that need to be sewn on a regular sewing machine, but most of the project is sewn and edged with your overlocker.
7. Fleece Blanket
A fleece blanket makes a great gift as well as being an excellent item to have around the house for cold days or nights.
This video tutorial walks you through the process of making a fleece blanket on a serger. It uses two layers of fleece to create a cozy and luxurious blanket.
The serged edges are easy to do and produce a professional-looking finish. The video shows you how to prepare and serge the edges including perfect corners.
The tutorial includes some handy tips for making your blanket, such as using an old plastic CD divider to create perfect rounded edges. It shows you how to remove the salvage edge of the fleece with a rotary cutter, embroider design with a sewing machine, and then serge the edges of the blanket.
This project is super easy and you should be able to complete your blanket in under an hour.
Don’t have a sewing machine or serger? You can also make an easy fleece blanket by hand with now sewing required – check out this tutorial.
Summing up
Using a serger opens up a range of new creative possibilities that are out of reach when using a regular sewing machine. It is also a huge time-saver, literally cutting your sewing time in half.
These fun and interesting projects will let you practice using your serger and make some stunning garments, accessories, and items for yourself or a loved one!
Go ahead and share this article with your friends and family members who’d love to learn more about sergers!

